Pre-Made vs DIY Backpacking First Aid Kit: How to Choose
Pre-made backpacking first aid kits provide fast, organized coverage, while DIY kits save weight and match your route risks. This guide compares setup time, weight, organization, and trip-specific upgrades.
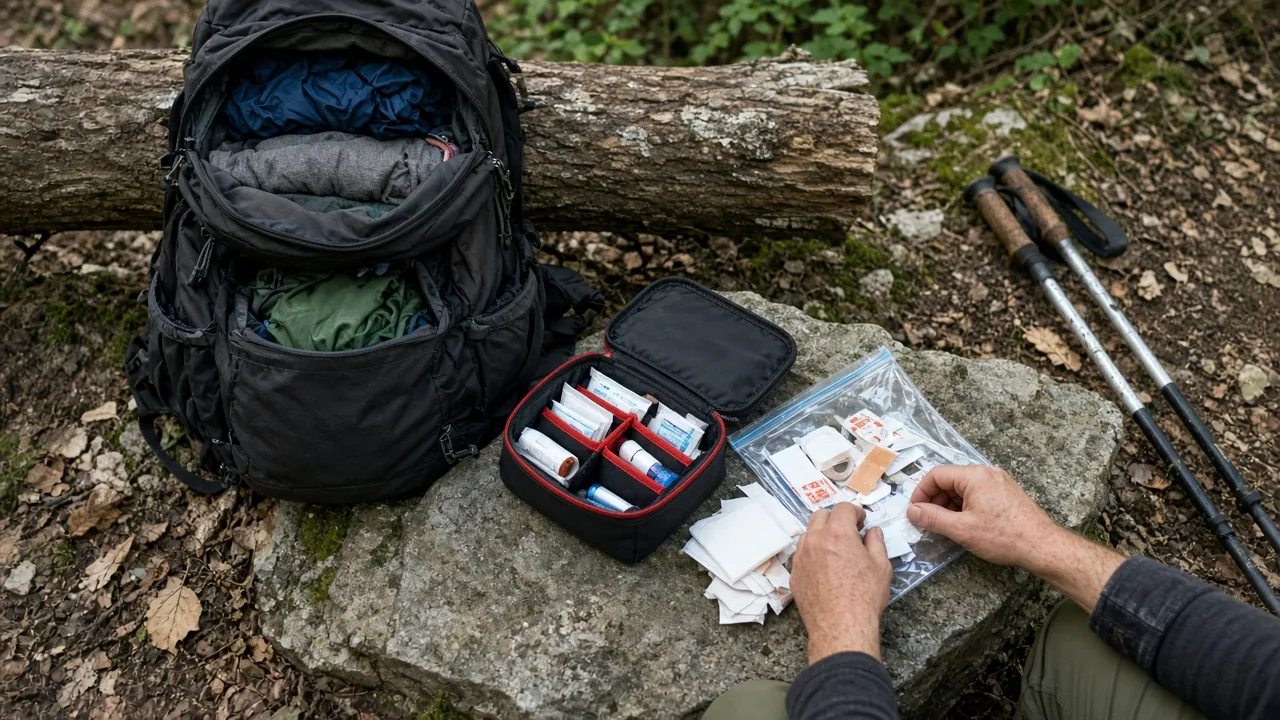
A pre-made backpacking first aid kit is the fastest way to cover basic cuts, blisters, and pain relief, but most hikers should treat it as a starting point and add trip-specific items. The pre-made vs DIY backpacking first aid kit decision really comes down to how much you know about your routes, your group, and your own refill habits. DIY works better if you already understand local hazards and want to shave ounces. If you are new or short on time, a pre-made kit gets you out the door with decent coverage.
What to Compare Before Choosing a Kit
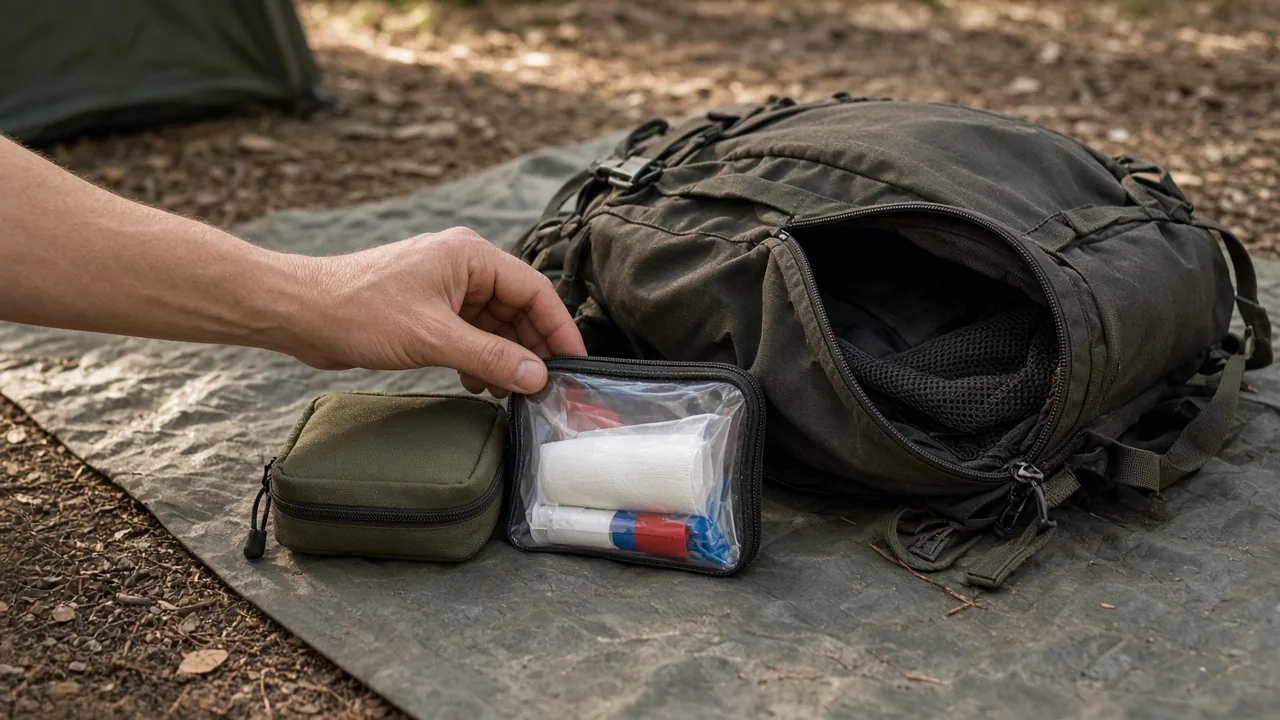
Before you buy or build anything, compare weight and packed size, core wound care, medications, organization, and how likely you are to check and restock supplies. Backpacking favors small, light kits because you carry everything on your back. Car camping allows bulkier supplies, but that does not mean you should skip a basic kit.
Weight and Pack Size
A day-hike kit should stay small and light. An overnight kit can add two-person quantities, but every ounce matters when you are walking several miles with a full pack. Pre-made day-hike kits are usually compact and easy to toss into a hipbelt or side pocket. Overnight pre-made kits often include more gauze, tape, and bandages, which adds weight but covers longer trips.
If you are building a DIY kit, start with the smallest pouch that still lets you find items fast. A cluttered ultralight bag is not helpful at 2 a.m. when you need a bandage and a headlamp.
Core Wound Care and Medications
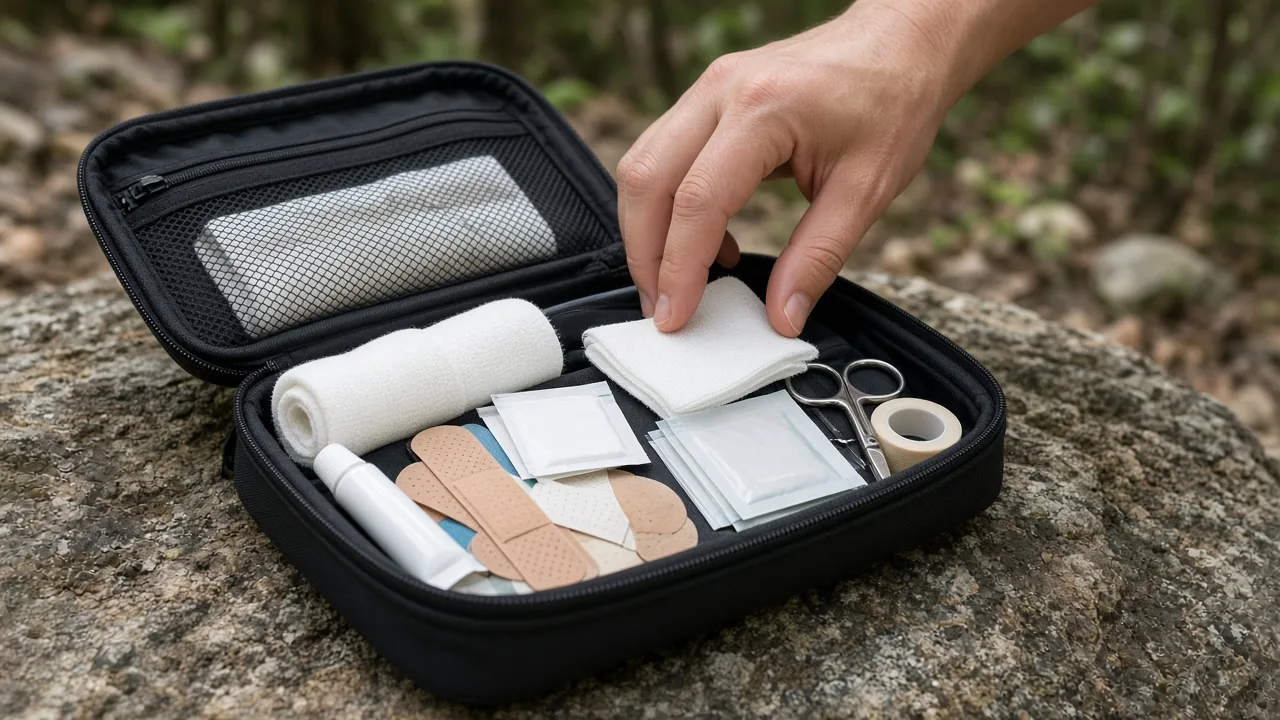
Look for gauze, tape, bandages in multiple sizes, antiseptic wipes, ibuprofen, and scissors. Pre-made kits usually cover these basics in labeled sections. DIY lets you match exact doses and formats, such as single-use ibuprofen packets instead of a bottle, or a small tube of antibiotic ointment instead of foil wipes.
A typical two-person overnight pre-made kit includes wound care, medication, cut/scrape, and fast-clot zones. The medication section may have anti-inflammatory tablets and aspirin, while wound care holds larger bandages, gauze, dry scissors, and medical tape. That is a solid base, but it still misses personal prescriptions and several trip-specific items.
Organization and Refill Habits
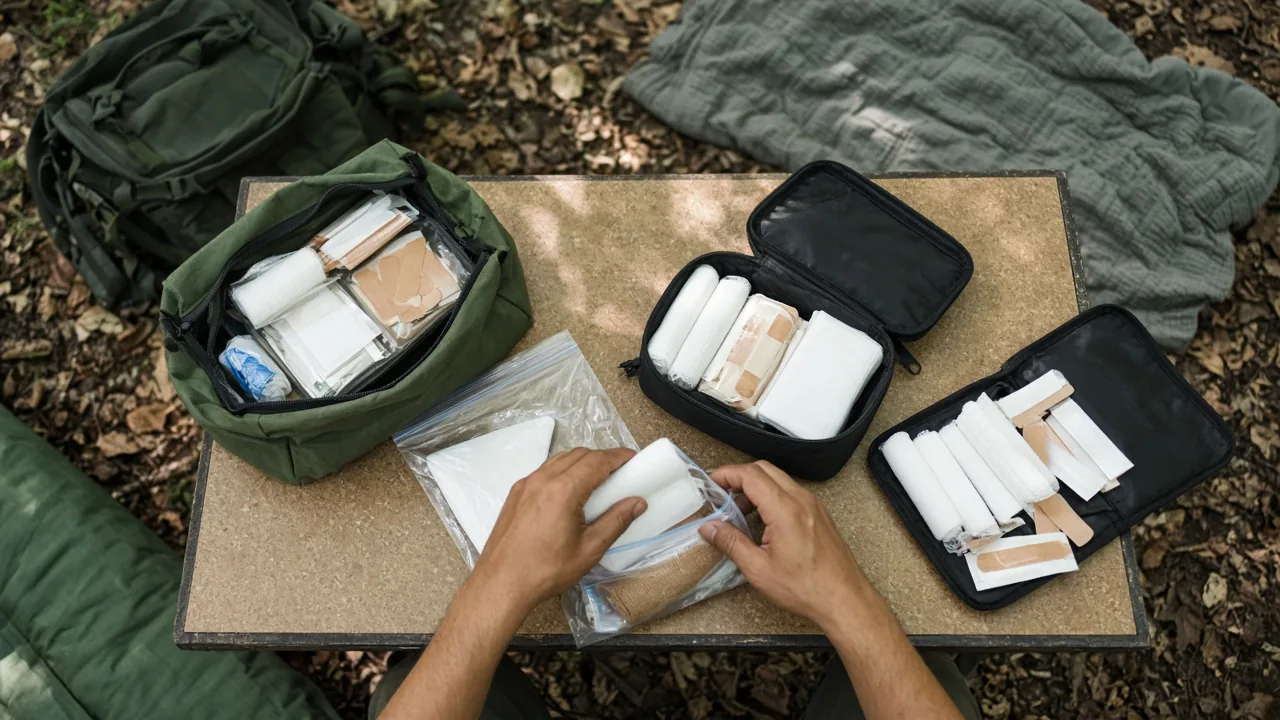
Both pre-made and DIY kits fail if supplies expire or get buried at the bottom of your pack. Pick the option you will actually open, label, and restock after each trip. A pre-made kit gives you organized compartments right away. A DIY kit forces you to think through every zone, which can help you remember what you packed.
After any trip, replace what you used and check expiration dates. If you are the type who never opens the kit until you need it, a pre-made kit may stay tidier. If you enjoy dialing in gear, a DIY kit will be easier to keep current because you built it yourself.
Pre-Made vs DIY Backpacking First Aid Kit: Side-by-Side Differences
Pre-made kits save time and provide organized compartments. DIY kits save weight and let you tailor supplies to local hazards, but they require more upfront knowledge. The table below lays out the main trade-offs.
| Factor | Pre-made kit | DIY kit | Better option |
|---|---|---|---|
| Setup time | Ready to pack immediately | Takes time to source and assemble | Pre-made if you need coverage this weekend |
| Weight and bulk | Balanced, but may carry items you never use | Can be trimmed to your exact route | DIY for fast-and-light trips |
| Coverage | Broad basics for one to two people | Only what you choose to include | DIY if you know local risks and gaps |
| Organization | Labeled compartments out of the package | You create and label your own zones | Pre-made for a quick, clear layout |
| Long-term fit | Works as a starter, then personalizes | Already personalized, but needs knowledge | Pre-made first, then build DIY later |
Coverage and Gaps
Pre-made kits include balanced basics for one to two people. They usually cover gauze, tape, bandages, antiseptic, and pain relief. What they miss are personal medications, snake-specific care, advanced bleeding control, burn dressings, and often a whistle or emergency blanket outside the main pouch.
DIY lets you add those items only if you know your trip risks. For example, a hiker in snake country may add a snake-bite response plan and know the nearest emergency room with antivenom. Someone biking rough trails may add nonstick gauze pads, elastic mesh, and zip ties because tape alone does not work well on moving limbs.
Weight and Bulk
DIY kits can be trimmed for summer city hills or trail runs. You can carry two small bandages, iodine swabs, a few alcohol wipes, sterile pads, and anti-itch ointment in a tiny pouch. A pre-made overnight kit may carry extra gauze, multiple bandage sizes, and a heavier case that you never fully unpack.
That extra bulk is not always wasted. If you are leading a group or walking two days from help, having more wound care makes sense. For solo day hikes on well-traveled trails, a slimmer DIY kit reduces shoulder and hipbelt clutter.
Speed and Emergency Access
Pre-made kits give labeled zones right away, so you or someone else can find a bandage without dumping everything on the ground. However, you still need to move emergency items like an emergency blanket, whistle, and gloves where you can reach them without digging.
Keep the whistle and emergency blanket outside the first aid pouch, in a hipbelt or jacket pocket. Gloves belong at the top of the kit. In a real emergency, you do not want to unzip three pouches and sort through ibuprofen packets to reach a pressure dressing.
Long-Term Fit
A pre-made kit works as a starter you personalize. After a few hikes, you will notice what you use and what stays untouched. Swap those unused items for trip-specific gear such as Leukotape, metal tweezers, or quick-clot gauze.
A DIY kit works better if you already know your routes, weather, and how to treat common scrapes, blisters, and blisters. If you have taken a wilderness first aid course or spent enough nights outside to know what actually fails, a DIY kit will be smaller and more useful. If you are still guessing, start pre-made.
How to Choose for Different Trips and Seasons
Match the kit to trip length, group size, season, and cell coverage rather than trying to build one perfect pack for every outing. The same kit that works for a July city park may be too thin for a cold-weather ridge walk or a no-signal overnight.
Day Hikes and Short Summer Routes
Use a small pre-made day-hike kit or a DIY pouch with bandages, gauze, tape, ibuprofen, antiseptic, and scissors. For short, warm routes near help, some hikers leave the emergency blanket at home. That is reasonable if you are never more than an hour from a trailhead and the weather is stable.
If you are going into rolling terrain or where afternoon storms build quickly, pack the emergency blanket and whistle anyway. They weigh almost nothing and can prevent a bad situation from becoming life-threatening.
Overnight Backpacking Trips
Start with a two-person pre-made kit for wound care and medications, then add water treatment, a multi-tool, extra gloves, and a satellite communicator for no-signal areas. A Garmin inReach or similar device can reach help when your phone has no service.
For two people on two-day trips, a kit with larger gauze pads, butterfly bandages, and gloves covers most common cuts and blisters. But the kit alone is not a complete overnight medical plan. You still need water purification, extra food, and a way to stay warm if you are stuck out longer than planned.
Snake Season, Remote Areas, and Cold Nights
If you hike in snake-prone areas during warm months, add snake-bite response supplies only after you know what local emergency guidance recommends. Some hikers carry snake medication as a temporary stopgap, but it is not a substitute for antivenom. The critical step after a snake bite is to get to an emergency department as quickly as possible.
In remote areas, carry an emergency blanket and whistle outside the kit. On cold nights, use dry layers, a proper sleeping pad, and a sleeping bag rated for the expected low. Never use a stove or heater inside your tent. Carbon monoxide builds up quickly in enclosed spaces and can be fatal even with a vent open.
Trail Running and Light-and-Fast Missions
Keep a stripped DIY kit with iodine swabs, small bandages, alcohol wipes, sterile pads, and anti-itch ointment. Trail runners and fastpackers use these kits more often for minor scrapes, blisters, and skin irritation than for serious trauma.
Separate insulation stays optional by season and route. In summer on low-elevation trails, you may leave the emergency blanket behind if you know you can exit quickly. In fall, winter, or spring, or any route with creek crossings and long stretches between roads, pack a lightweight emergency blanket and whistle where you can grab them with one hand.
Setting Up Your Kit and Keeping It Current
Whichever route you pick, open every pouch, check expiration dates, and add a few high-value upgrades like Leukotape, metal tweezers, and quick-clot gauze if your trip is remote. A first aid kit only works if you know what is inside and can reach it fast.
Pre-Made Kit Upgrades Worth Making
Add Leukotape for blisters and hot spots. It stays on skin longer than many fabric bandages. Metal tweezers are better than plastic ones for splinters and ticks. Safety pins, zip ties, a signal mirror, and nonstick gauze pads are useful if you bike or repeat rough trails.
For longer or more remote trips, consider quick-clot gauze for severe bleeding and a burn dressing. These items are not necessary for every day hike, but they fill gaps in many pre-made kits. If you carry them, know how to use them. A wilderness first aid class is the best upgrade you can make.
DIY Kit Organizing Shortcuts
Create labeled zones for wound care, medication, small cuts, and fast-clot items. Put large gauze and gloves in the quickest-access spot, usually a top pocket or a clear zip bag inside the pouch. Small bandages and adhesive strips can go in the section you use most often.
Separate items you need before an injury from items you need during an injury. Sunscreen, insect repellent, and lip balm are not first aid supplies. Keep them in another pocket so you do not have to dig past them to find a bandage.
Before Each Trip
Check ingredient expiration dates, replace anything used, and update the kit for the forecast, group size, and whether you can call for help. If rain is expected, add a few extra plastic bags for wet gear and make sure bandages are in a waterproof pouch. If you are car camping, you can bring a larger kit with more comfort items. If you are backpacking, trim anything that duplicates what is already in your repair or hygiene kit.
Also check fire restrictions and campsite rules before you leave. Pack out all medical waste and packaging instead of leaving it at camp. A first aid kit is part of a larger system that includes planning, communication, and knowing when to turn around.
Start with a pre-made kit if you are new, but build a DIY kit once you know your routes. Before each trip, check whether you are car camping or backpacking, how cold the night may get, and whether rain changes your supplies. If you carry a satellite communicator, a slim first aid kit and a solid emergency plan weigh less than a huge medical bag you never open.
This article is general information about camping gear, not professional safety, medical, or wilderness training. Check fire restrictions, weather, and campsite rules before you go, and follow the manufacturer's instructions for your own equipment.
FAQ
Is a pre-made or DIY backpacking first aid kit better for beginners?
Pre-made kits work better if you are new or short on time because they provide organized compartments and broad basics right away. Once you learn your routes and common injuries, you can personalize a pre-made kit or build a DIY kit.
What should I add to a pre-made backpacking first aid kit?
Add Leukotape for blisters, metal tweezers, quick-clot gauze for remote trips, and personal prescriptions. Move emergency items like a whistle, emergency blanket, and gloves where you can reach them quickly.
How do I keep a DIY first aid kit light for day hikes?
Use a small pouch with bandages, gauze, tape, ibuprofen, antiseptic, and scissors. For short, warm routes near help, you may leave the emergency blanket at home if weather is stable.
What emergency items should stay outside the first aid pouch?
Keep a whistle and emergency blanket in a hipbelt or jacket pocket, and place gloves at the top of the kit. This avoids digging through other supplies in a real emergency.
How often should I restock a backpacking first aid kit?
Check expiration dates and replace used items before each trip. Update the kit for forecast, group size, and whether you can call for help.



