How to Use EXPED MegaMat Repair Kit for a Torn Mat
Step-by-step guide to using the EXPED MegaMat repair kit for a torn mat, covering UV glue, Seam Grip+WP, cure times, and when an adhesive patch is enough.
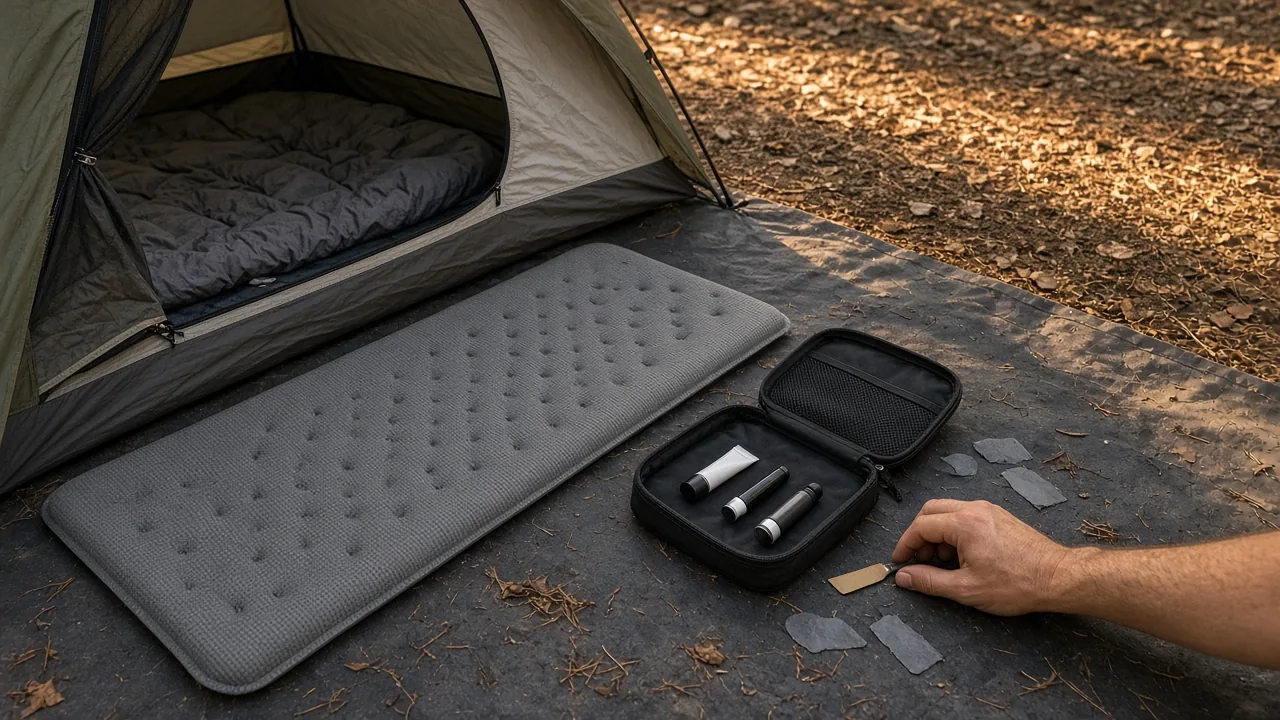
Brought to you by Camp Kit Journal, here is how to use EXPED MegaMat repair kit.
A torn EXPED MegaMat doesn’t have to end a trip, but the repair path changes with the damage. For a fabric tear such as a 3-inch cut in the stretch knit surface, the more dependable route is to use the EXPED MegaMat repair kit with UV-curing glue and Seam Grip+WP, not a stick-on patch. Before opening anything, confirm the mat has a real leak rather than normal overnight softening from cooler air or new-material stretch. This guide covers how to use EXPED MegaMat repair kit steps, cure times, and when a patch is enough.
Rule Out Normal Softening Before You Start
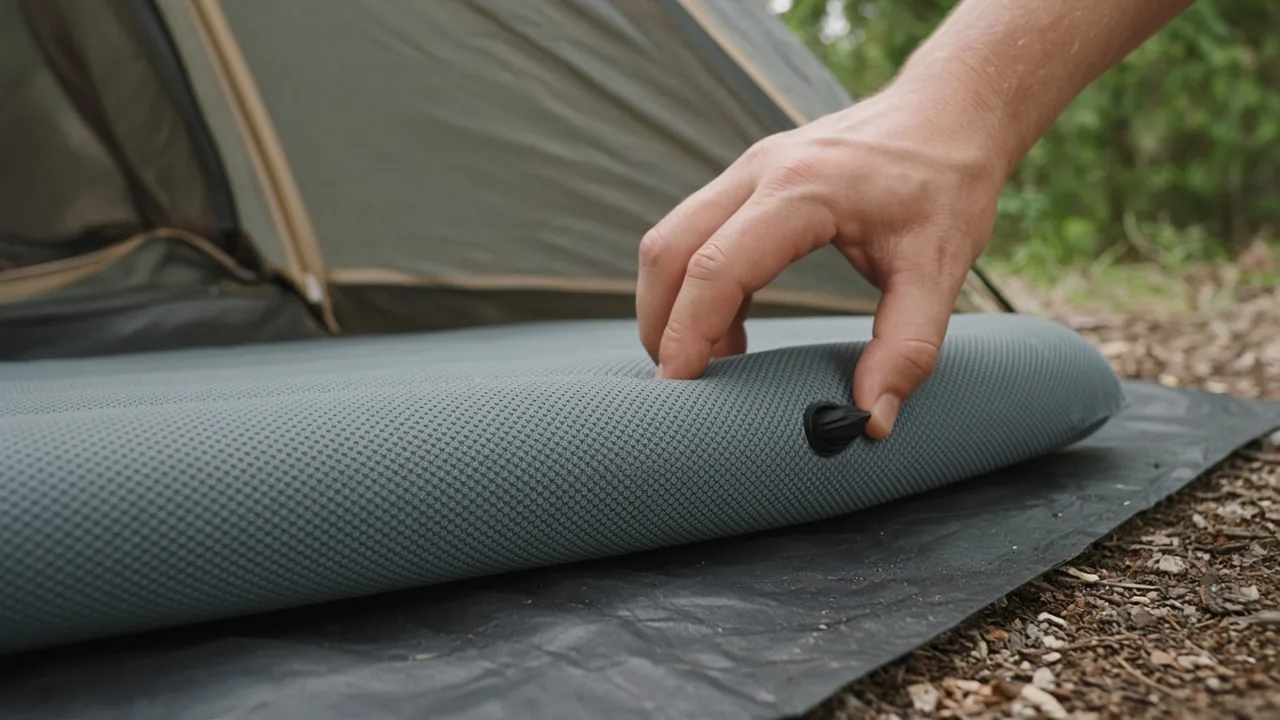
Before reaching for a repair kit, rest the mat in a stable indoor temperature and recheck firmness. Cool overnight air reduces the motion of air molecules inside a pad, which can lower internal pressure. A sleeping pad is not a rigid metal tank, so outside air and body weight also change its shape and internal volume until pressures balance again.
New-material stretch can mimic a slow leak, especially during the first few uses of a MegaMat. Inflate the pad in a warm room, close the valve, and let the temperature stabilize before comparing support. Do not judge a cold tent pad against a pad that was just inflated in a heated space.
If the mat still loses support after temperature normalization, check the valve first. If the valve is closed and the pad still softens, move on to leak detection. Starting with the right diagnosis prevents wasting sealant on a pad that only felt soft because of overnight cooling.
Adhesive Patch vs. Field Repair Kit: Which One Matches Your Damage
An adhesive patch is the faster fix for small pinholes, but a longer fabric tear needs a different approach. For a 3-inch cut through the stretch knit fabric of a MegaMat, the field repair kit with UV glue and Seam Grip+WP creates a stronger, flexible seal.
| Repair method | Best damage type | Cure before inflation | What carries the repair |
|---|---|---|---|
| Adhesive patch | Small clean pinhole | 1–2 hours | Adhesive patch |
| Field repair kit | Long fabric tear, such as a 3-inch cut | 5–8 hours after Seam Grip+WP; UV glue cures 30 seconds to 1 minute per section | Cured UV glue plus Seam Grip+WP |
Patch Route: Quick, But Best for Small Clean Holes
A stick-on patch only needs about 10 seconds of surface pressure and 1–2 hours before testing. That makes it the better route for a small puncture rather than a long fabric tear. Mark the hole before deflating so you don’t lose the exact spot when the pad goes soft.
This method works well for a clean pinhole, but it has limits. If the damage is a longer cut in the knit surface, an adhesive patch may not hold the edges together well enough. Use it for small, isolated punctures and leave the heavier repair to the UV glue and Seam Grip route.
Field Repair Route: Longer Cure, Stronger Fabric Seal
EXPED’s UV glue cures in 30–60 seconds per section under a UV light, but the Seam Grip+WP top layer needs 5–8 hours before inflation. That longer wait is the trade-off for a flexible seal on a larger cut. A MegaMat may include a textile glue kit, but the field repair route using UV glue and Seam Grip+WP is the stronger option for a fabric tear.
If a repair still leaks after several thin layers of glue alone, the missing piece is usually the Seam Grip+WP layer. The UV glue secures the torn fabric, while the Seam Grip+WP builds a wider flexible seal over the glued area. More UV glue alone is not always enough on a stretch knit tear.
How to Use EXPED MegaMat Repair Kit Step by Step
Work in a clean, ventilated area, and never use a stove or heater inside your tent to speed curing. The carbon monoxide and fire risk is not worth a faster patch. Deflate the mat, keep the tear visible, and build the repair in thin UV-glue sections followed by Seam Grip+WP.
Mark the Tear and Cure UV Glue in One-Inch Sections
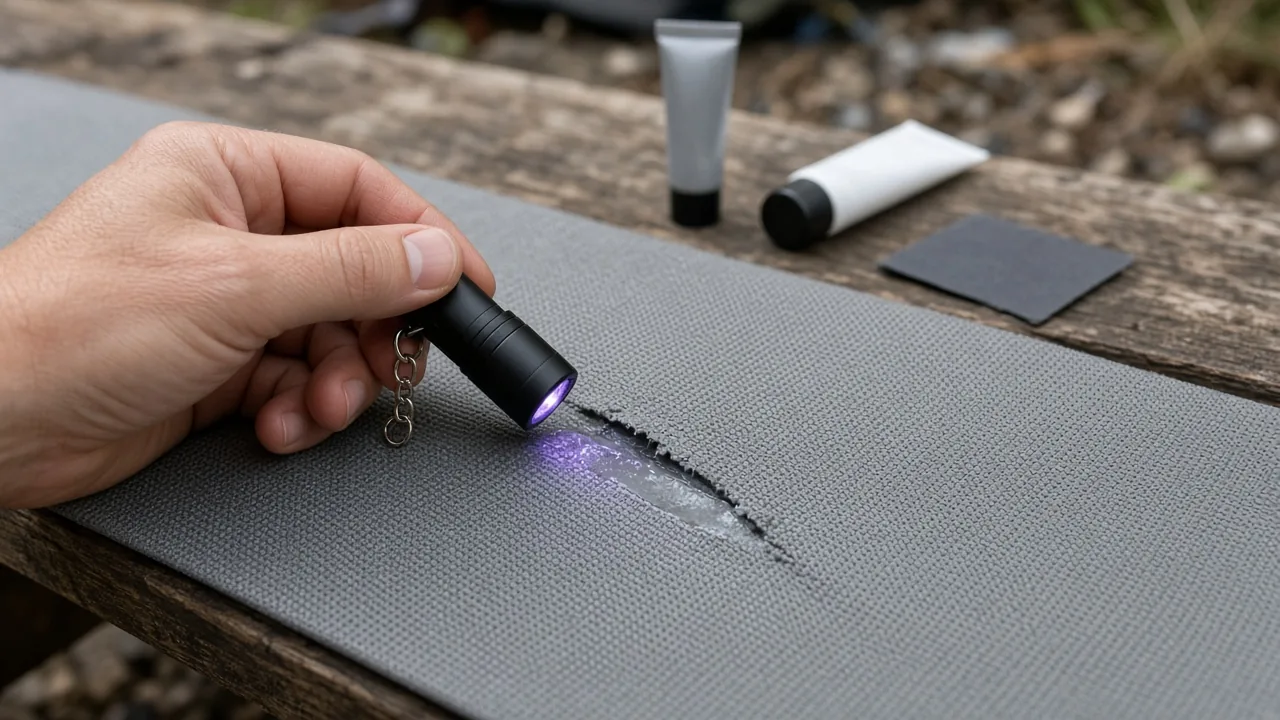
Mark the tear before the pad fully deflates if you can still see it clearly. Then lay the mat flat with the damaged fabric facing up. Apply UV glue about one inch at a time, let it penetrate the knit fabric, and immediately cure it with the UV keychain light or shop light for 30 seconds to 1 minute before moving on.
Do not apply one long line of glue and chase it with the light afterward. Working in small sections gives the glue time to enter the fabric before it hardens, and it reduces the chance of uneven curing. A UV keychain light from the field repair kit works if you don’t have a shop light.
Apply Seam Grip+WP Past the Glue Edges
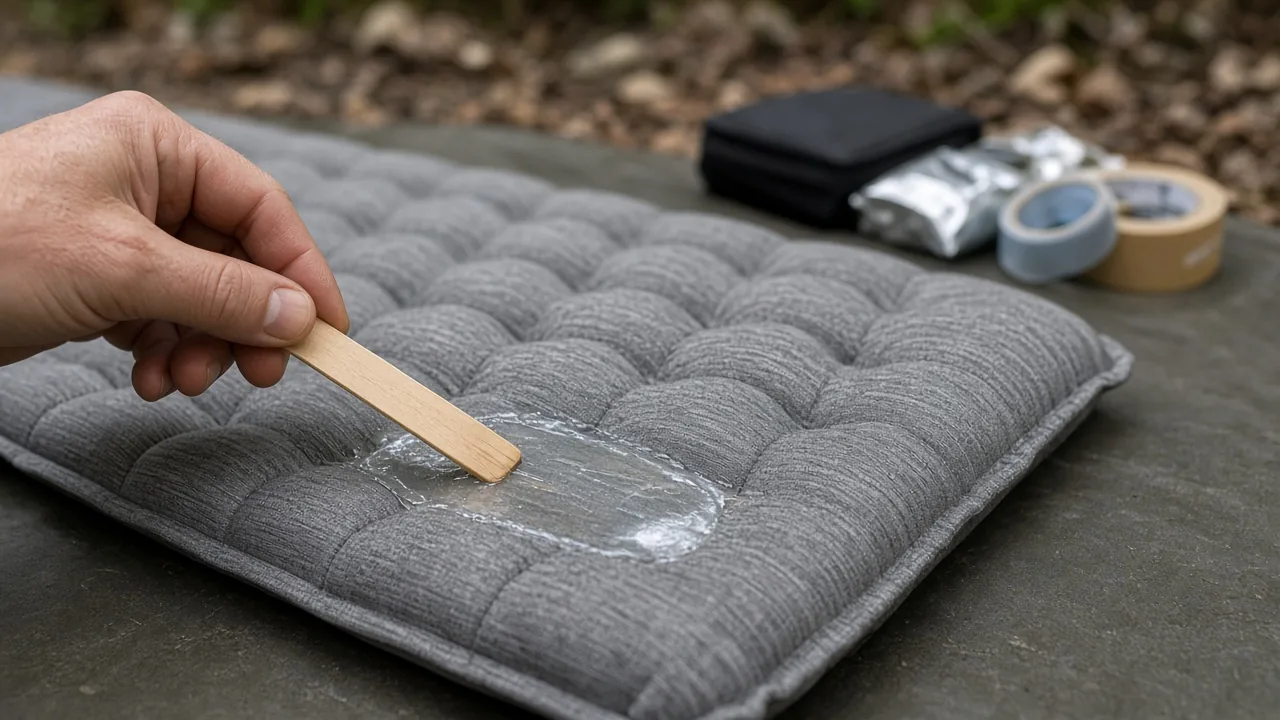
After the UV glue has cured, apply Seam Grip+WP with a silicone, metal, or wooden spreader. Cover the cured glue by about 1/4 inch on all sides. Work the layer even so there are no thin spots at the edges of the tear.
This layer is not optional when the goal is a flexible, longer-wearing fabric seal. Let it dry 5–8 hours before inflating the mat. Rushing the cure can break the seal before it has a chance to set.
Add an Optional Patch for Abrasion and Looks
After the seal is fully dry, a patch can improve wear resistance and appearance, but the Seam Grip seal is what carries the repair load. A patch can also keep the repaired area from snagging on loose clothing or a tent floor.
If you skip the patch, the repair is still functional as long as the UV glue and Seam Grip+WP have cured. The patch is not a substitute for those layers.
How to Repair a Small Pinhole with an Adhesive Patch
For a known pinhole, deflate the mat and clean and mark the spot. Choose a patch size that covers the hole with some margin. Peel the patch backing, press it firmly for about 10 seconds, and wait 1–2 hours before inflating to test.
If the pad still leaks after that test, there may be another hole somewhere else. Repeat the leak check rather than stacking more patches on the same spot. A small adhesive patch is light enough for backpacking, but it is not the right material for a long fabric tear.
How to Locate a Slow Leak Without Soaking the Mat
If you cannot see the hole, apply mild soapy water to suspect areas and watch for continuous bubbles. Do not submerge a foam-core self-inflating mat or let water reach any powered pump parts. A MegaMat has internal foam, and soaking it can introduce moisture that is difficult to dry out.
Work in sections across the top fabric, seams, and around the valve. Keep the pad inflated during the check so escaping air can form bubbles. Mark any leak before deflating.
How to Test a MegaMat Repair Before You Pack It
After the full cure time, reinflate the mat and check the repaired area with a damp hand or soapy water. If you still feel or see air, add another thin UV-glue layer and retest. Do not pack the pad as repaired until it holds air through the test.
For an adhesive patch repair, wait the recommended 1–2 hours before testing. For the field repair route, wait until the Seam Grip+WP has had at least 5–8 hours to cure. Testing too early can make a good seal look like a failure.
When to Stop and Get Help Instead of Repairing
If the mat shows an internal bulge or delamination rather than a clean surface cut, the field repair methods in this guide do not provide a confirmed fix. A large bubble between layers is not the same as a simple fabric tear, and UV glue will not rebond internal foam separation.
The same caution applies to a leak at the valve-to-fabric joint. That area is harder to access and may require a different repair process or manufacturer support. Stop and contact the manufacturer if the damage is structural or located where surface sealant cannot reach both sides of the leak.
Before your next car-camping or backpacking trip, check fire restrictions, campsite rules, the overnight low, and the rain forecast, then decide whether the repaired MegaMat or a backup pad should go with you. For backpacking, a small adhesive patch kit weighs less, but for car camping you can carry the full UV repair route with time to cure at camp. A repair is only as good as your pre-trip leak test, so give the pad a full cure and a firm reinflation before you load it.
By Camp Kit Journal
This article is general information about camping gear, not professional safety, medical, or wilderness training. Check fire restrictions, weather, and campsite rules before you go, and follow the manufacturer's instructions for your own equipment.
FAQ
How long does the EXPED MegaMat field repair take to cure?
The UV glue cures in 30 seconds to 1 minute per section, and the Seam Grip+WP layer needs 5 to 8 hours before inflation.
Can I use an adhesive patch for a 3-inch tear in the EXPED MegaMat?
No, a long fabric tear needs the UV glue plus Seam Grip+WP route for a stronger, flexible seal. An adhesive patch is best for small clean pinholes.
How do I find a slow leak in my MegaMat without soaking it?
Apply mild soapy water to suspect areas while the pad is inflated and watch for continuous bubbles. Mark any leak before deflating.
When should I stop and contact the manufacturer instead of repairing?
Stop if the mat has an internal bulge or delamination, or a leak at the valve-to-fabric joint. These may require a different repair process or manufacturer support.
Can I skip the Seam Grip+WP layer after the UV glue?
No, the Seam Grip+WP layer creates a wider flexible seal over the glued area. UV glue alone is not always enough on a stretch knit tear.



