How to Safely Use a Tent Wood Stove Without Smoke Leaks
A step-by-step guide to using a tent wood stove safely, covering shelter compatibility, damper control, chimney setup, staged lighting, and bedtime checks to prevent smoke leaks and burns.
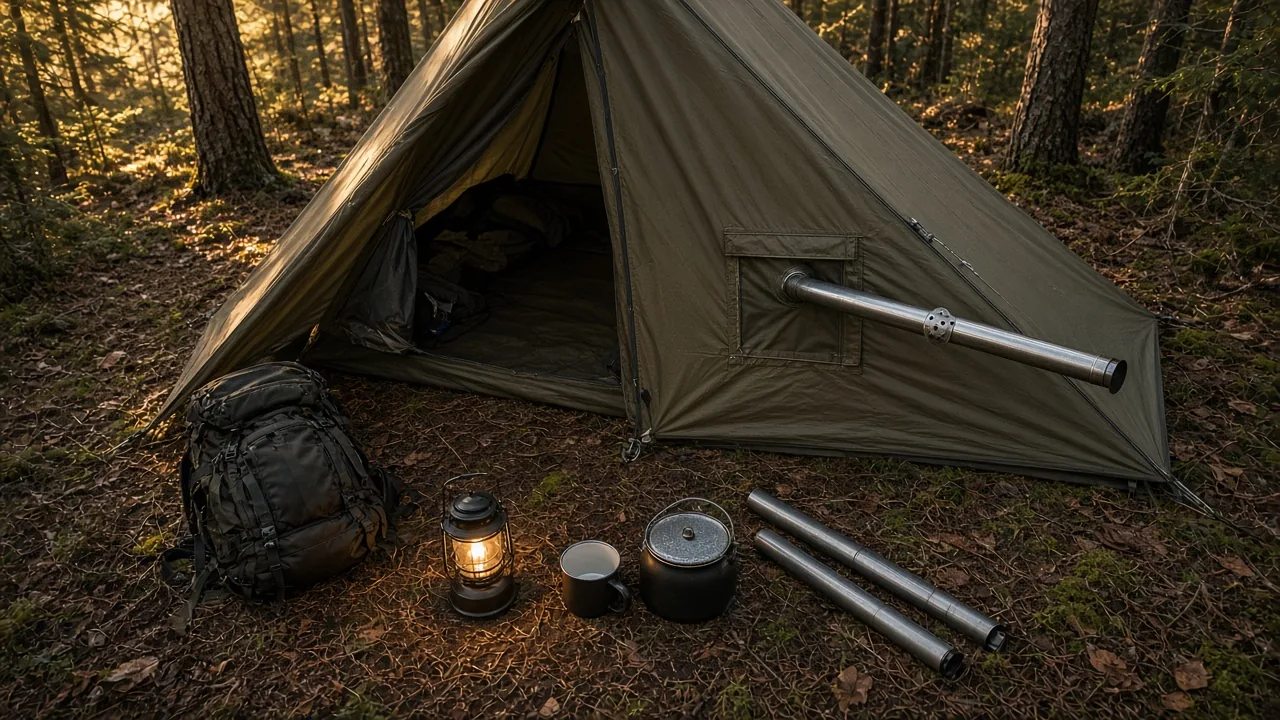
Learning how to safely use a tent wood stove is a checklist problem more than a gear-buying problem. This guide sorts tent wood stove safety by what stops smoke leaks and tent burns first: shelter compatibility, damper placement, chimney setup, staged ignition, then stove selection. Follow the stove and tent manufacturer’s instructions for clearances, damper settings, and chimney assembly.
1. How to Safely Use a Tent Wood Stove: Confirm the Shelter First
Why standard tents are off-limits
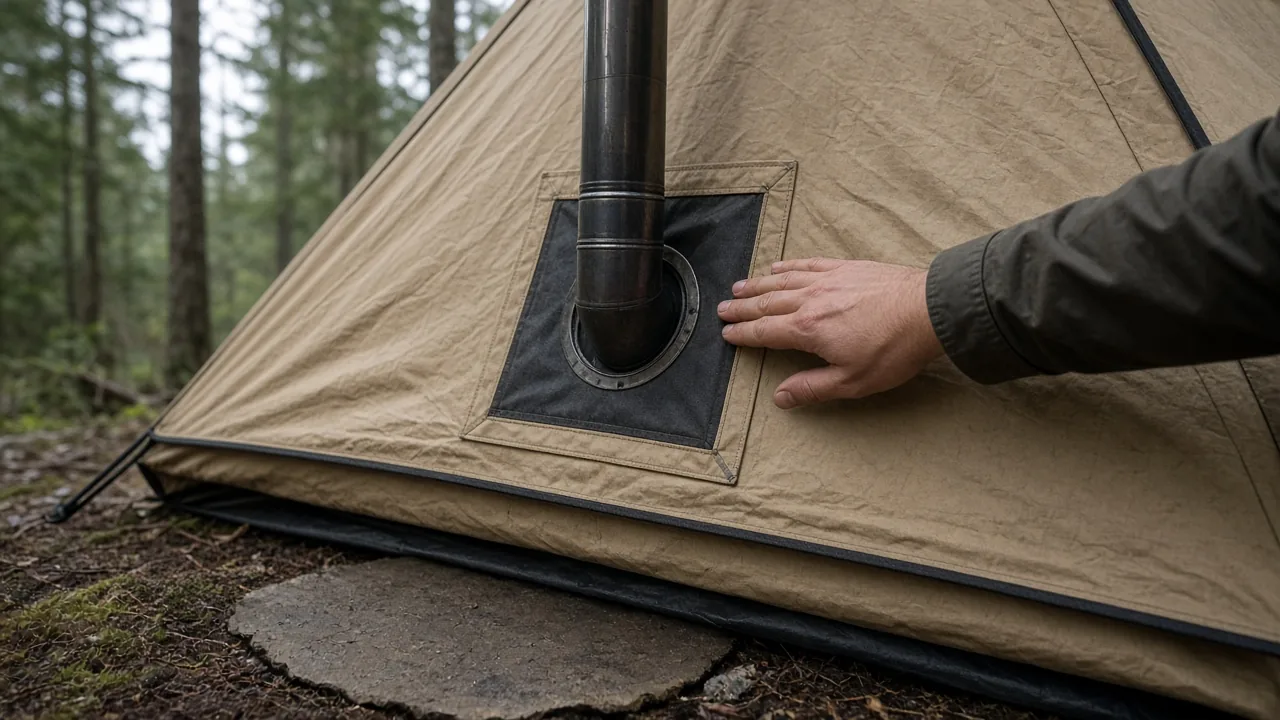
Never use a stove or heater inside your tent. A standard three-season or four-season tent is not built for an open flame or a glowing stovepipe. The fabric lacks an insulated stove jack, so heat radiating from the stove body or chimney can melt walls quickly. Combustion gases also have no controlled exit, which means carbon monoxide can build up inside the enclosed space.
What makes a hot tent stove-compatible
Use only a hot tent with a stove jack, enough floor clearance, and a stable surface for the stove body. The jack gives the chimney a designated, heat-resistant opening, and the shelter shape should keep wall fabric away from the pipe. On the floor, look for a flat, non-flammable area where you can place the stove without blocking the door or a vent. If the shelter does not have those features, skip the wood stove and use a separate cook area outside or a propane stove.
2. Install the Damper Section Low and Set the Air-Flow Ratio
Preventing smoke backup
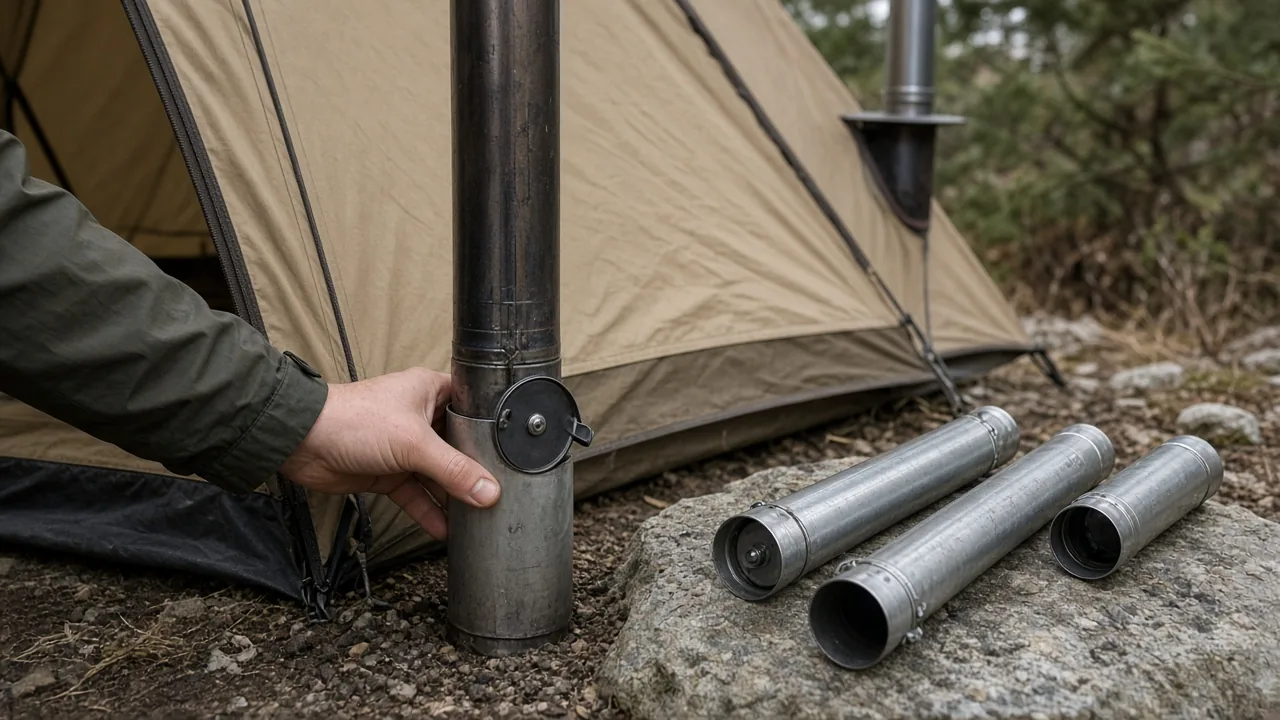
Start with the damper section at the bottom of the stovepipe, not the top or middle. The lower damper controls combustion air, and the upper damper controls how much hot air moves up and out. For a safer burn, keep the intake slightly more restricted than the exhaust. A practical ratio is exhaust at 100 percent and intake around 50 percent. That “more out, less in” approach gives combustion gases a clear path upward, so smoke is less likely to linger or reverse into the tent.
Why damper position matters
Mount the damper section too high, and the controls become indirect. That can make smoke output and heat output harder to manage during a cold start or when you add a new log. With the damper at the bottom, you are adjusting the fire at the point where air enters and hot gas begins its rise. Regulate the intake first, then fine-tune the exhaust. Small adjustments respond faster and keep the burn stable.
3. Run the Chimney Straight and Keep the Outlet Away From Tent Fabric
Why a straight flue usually wins
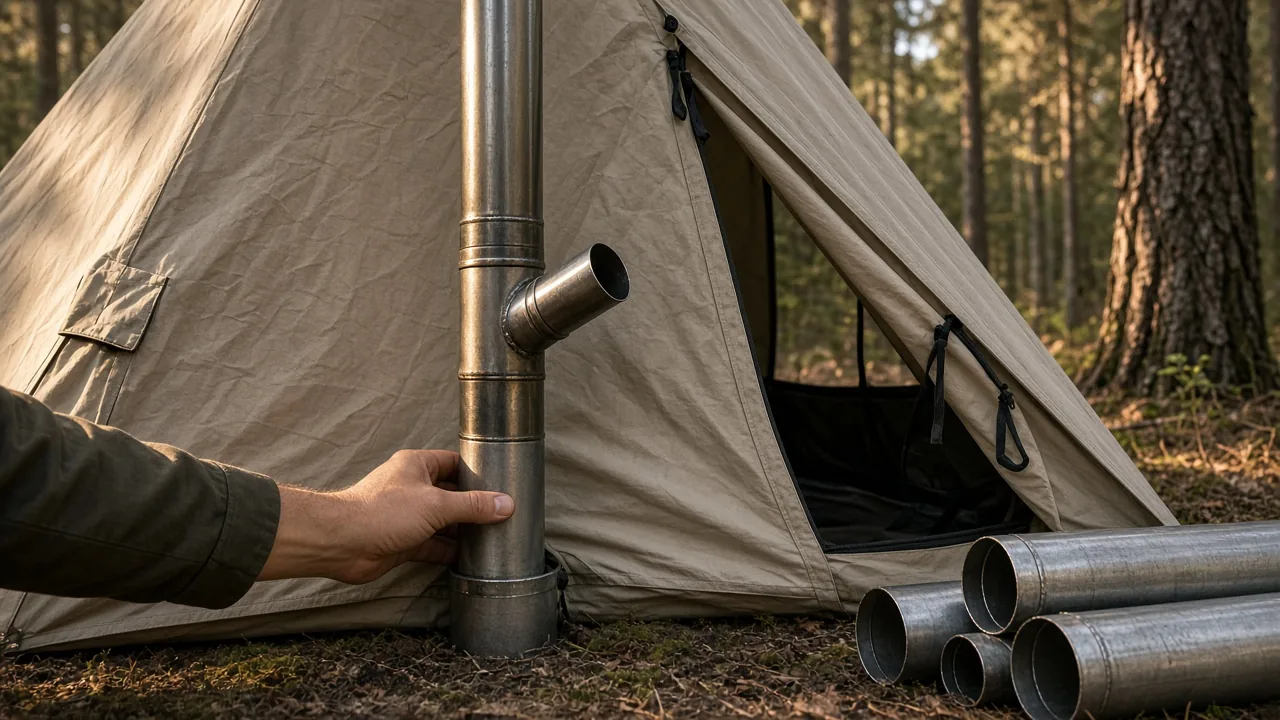
A straight flue keeps hot gas moving predictably. The upward pull, or draft, is more consistent when there are no sharp bends to slow the flow or trap burning particles. Some campers ask about angled chimney sections to deflect wind or route the pipe away from a tree. In practice, a straight chimney is usually the better starting point. If you do need an offset, keep it minimal and make sure the pipe sections seat securely so a gust cannot separate them.
Do joints need to be sealed tight?
Chimney joints do not need to be sealed to the point of being airtight. Once the pipe heats up, the hot rising air moves fast enough that smoke has little chance to escape through small seams. However, each joint still needs to fit snugly and stay connected. A loose section can fall out of alignment and create a real leak or let hot embers escape. Fit the pipe sections firmly, but don’t chase a perfect seal with tape or gaskets unless the stove manufacturer calls for it.
Keep the outlet away from tent fabric. Run the flue so the terminal section exits to one side rather than pointing straight up over the tent. A side outlet reduces the chance that sparks and light carbon pieces fall back onto the shelter. Whenever possible, use every chimney section the stove came with. A taller pipe gets embers higher above the tent and gives the wind more room to disperse them.
4. Light and Preheat in Stages
Why preheating the chimney matters
A cold chimney offers almost no draft. If you light a full load of wood right away, smoke can pool inside the tent before the pipe warms enough to pull. One effective method is to use a high-output torch to light the fuel and warm the flue. Aim the torch at the base of the stove or a small pile of dry tinder, then keep the flames moving enough to heat the lower chimney. After 15 to 20 minutes, the hot pipe creates the rise that carries smoke outside.
If you do not have a high-output torch
Start with dry kindling or a fire starter, and build a small controlled fire before adding larger wood. Open the damper and let the small flames heat the stove body and pipe. Once smoke is moving steadily upward, add thicker fuel in stages. A small, fast-burning start is safer than a large fire that smolders and backs smoke into the tent. This method takes more patience, but it develops the same draft without relying on a specialty torch.
5. Check Fire Restrictions, Weather, and Campsite Rules Before You Go
Why this changes your gear list
Call the land agency or check current fire restrictions for the place you plan to camp. A tent wood stove may be banned during high fire danger even when standard camp stoves are allowed. High wind or heavy rain can make chimney drafting and spark control much harder, so it is worth checking overnight lows and wind before committing to a wood stove. If a burn ban is in effect, switch to a propane stove or another approved cooking system. Also review campsite rules about wood collection: many areas require you to bring your own firewood to avoid spreading pests. Pack out ash or dispose of it according to local rules, and follow Leave No Trace practices for fuel and waste.
6. How to Choose a Tent Wood Stove for Car Camping vs. Backpacking
Wall thickness vs. weight and durability
Wood stove bodies come in a range of steel thicknesses. The lighter 2.5 mm class stoves are easy to load into a car and compact enough for some basecamp use. They suit occasional campers who might use a stove ten to twenty nights a year. The trade-off is that thin walls can warp over repeated hot cycles, and the glass window may be more vulnerable to cracking. Thicker 3 mm or 3.5 mm 304 stainless stoves hold their shape better over many burns and add durability to the glass and body. They weigh more and cost more, but they are the more sensible choice for frequent winter campers or anyone who runs a stove hard.
What to put in a comparison table
Use a simple table to compare your shortlist before packing. The key columns are wall thickness, weight, packed size, heat output, fuel availability, and whether the stove makes more sense for car camping or backpacking. If you are also considering a propane stove, put it in the same table. Do not skip the fuel and fire-restriction columns: wood may be free at some campsites but unusable during burn bans, while a 1 lb propane canister is easy to carry but creates waste that must be packed out.
| Consideration | Thin-wall 2.5 mm wood stove | 3 mm+ 304 stainless wood stove | Propane double-burner stove |
|---|---|---|---|
| Wall thickness | About 0.10 in (2.5 mm) | 0.12 in or more (3 mm+) | n/a |
| Weight | Lighter, more packable | Heavier, more rigid | Compact body, but 1 lb propane canisters add weight and bulk |
| Packed size | Small enough for car camping and some backpacking | Larger, often best for car camping or basecamp | Ultra-slim; folds open easily, better for car camping |
| Heat output | Variable, depends on fuel load and damper settings | Variable, holds heat over longer burn cycles | Around 11,000 BTU per burner; about 22,000 BTU total for a two-burner unit |
| Fuel | Wood, sticks, pellets; subject to fire restrictions | Wood, sticks, pellets; subject to fire restrictions | 1 lb propane canisters; a group of four cooking most meals for four days may use about two canisters |
| Best fit | Occasional use, budget-friendly | Frequent use, long-term durability | Cooking with simmer control, lower set-up time |
When a propane camp stove makes more sense
If you want a controllable simmer and a compact setup without learning fire management, a double-burner propane stove is a simpler option than a wood stove. The Coleman Cascade 222, for example, uses two independently controlled burners with about 11,000 BTU per side. It folds open with one hand and has wind panels that kept flames stable in a river valley over several days. That kind of stove cannot heat a tent the way a wood stove does, and it should never be brought inside a tent. But for boiling water, simmering soups, and feeding a small group from the tailgate, it removes much of the learning curve and eliminates ash cleanup and wood collection. Wood stoves are better for drying gear and creating radiant warmth, but propane is often the more predictable cold-weather cooking tool.
7. Bedtime Safety Check for Tent Wood Stoves
Overnight clearance and spark check
Before bed, reduce the fuel load and let the fire settle. Confirm the draft is steady and smoke is moving upward, not billowing at the top. Pull sleeping bags, pads, and clothing away from the stove body and pipe so nothing can contact hot metal during the night. Check that the spark arrestor or full chimney sections are in place and that no embers are landing near tent fabric. Keep a battery-powered carbon monoxide detector inside the shelter and confirm the batteries are fresh before you sleep. If wind picks up or rain starts, monitor the flue and be ready to reduce the fire.
Before packing, confirm trip type, nighttime low, rain chances, and fire restrictions, then pair a stove-compatible hot tent with a wood stove or choose a propane stove for simpler cold-weather cooking. For a cold weekend at a car-camping site, a wood stove can be worth the set-up time. For a windy shoulder-season trip where cooking matters more than radiant heat, a double-burner propane stove is often the easier call.
— Camp Kit Journal
This article is general information about camping gear, not professional safety, medical, or wilderness training. Check fire restrictions, weather, and campsite rules before you go, and follow the manufacturer's instructions for your own equipment.
FAQ
Can I use a wood stove in a standard tent?
No. Standard three-season and four-season tents are not built for an open flame or glowing stovepipe, and can melt or trap carbon monoxide. Use only a hot tent with a stove jack and non-flammable floor space.
Where should the damper section be placed on a tent wood stove?
Install the damper section at the bottom of the stovepipe, not the top or middle. Keep the intake slightly more restricted than the exhaust, around 50% intake and 100% exhaust, to prevent smoke backup.
Do chimney joints need to be sealed airtight?
No, they don't need to be perfectly airtight. Once the pipe heats, hot rising air moves fast enough to prevent smoke leaks, but each joint should fit snugly and stay connected.
How do I preheat the chimney before lighting a full fire?
Either use a high-output torch at the base to warm the lower chimney for 15-20 minutes, or start with dry kindling and a small controlled fire, then add larger wood once smoke moves steadily upward.
What should I check before bed when using a tent wood stove?
Reduce the fuel load, confirm smoke is moving upward, keep sleeping bags and gear away from hot metal, check the spark arrestor, and use a battery-powered carbon monoxide detector with fresh batteries.



