How to Light a Liquid Fuel Camp Stove and Avoid Fueling Mistakes
Learn how to light a liquid fuel camp stove safely with the correct priming, fueling, and ignition sequence. This guide covers common fueling mistakes to avoid and when a canister stove is the simpler choice.
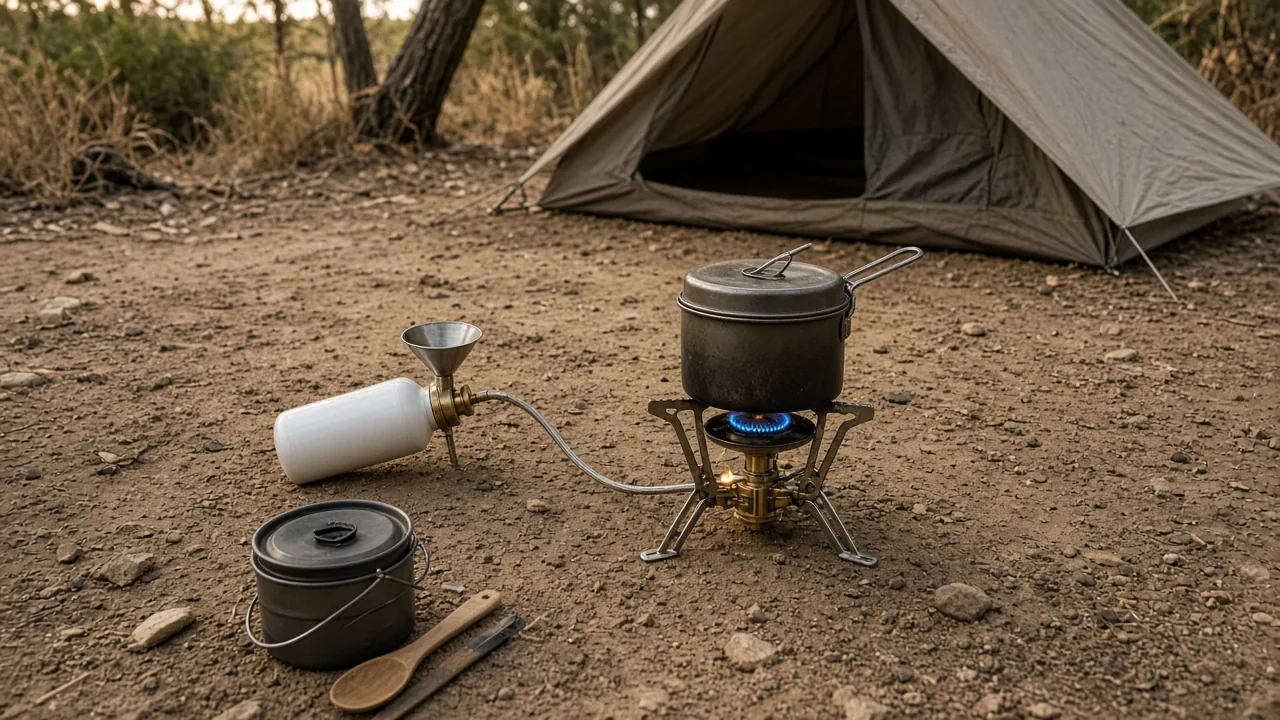
If you need a refillable liquid-fuel stove and are willing to practice its priming sequence, this type is worth carrying on trips where long fuel supply matters. The key is fueling and lighting in the right order, and a small mistake in the sequence can turn a camp dinner into a fuel flare. This guide walks through how to light a liquid fuel camp stove step by step, what fueling errors to avoid, and when a canister stove may be the lower-risk choice.
Who Should Use a Liquid-Fuel Camp Stove?
Liquid-fuel stoves suit campers who want a refillable fuel supply and will practice the preheat-and-light sequence, because lighting is more involved than with canister stoves. These stoves require more handling, but they can be efficient for longer trips where carrying refillable fuel is more practical than stacking disposable canisters.
Why Choose Liquid Fuel Over Canister Stoves?
Liquid-fuel designs let you refill the tank instead of throwing away canisters, but they add a separate priming step and require more careful fuel handling. You pour liquid fuel into a tank, seal it, pressurize or prime the burner, and only then light it. That extra sequence is manageable once practiced, but it is still more work than clicking on a canister stove.
Who Should Skip a Liquid-Fuel Stove?
New campers, short-trip cooks, or anyone who wants simple ignition and less fuel handling should look at a canister stove instead. If you mostly boil water for a two-day trip or cook in mild weather, a canister stove is lighter and faster to start. Liquid-fuel stoves make more sense when your trip length, fuel availability, or cooking volume justifies the extra steps.
What Fueling Mistakes Cause Liquid-Fuel Stove Fires?
Most safety problems come from overfilling, loose filler caps, lighting out of sequence, enclosed use, or unapproved wind protection. Each error has a similar result: fuel ends up somewhere it should not be, and a flame reaches it before you are ready.
How Do You Avoid Overfilling and Loose Fuel Caps?
Use a funnel, stop around two-thirds of tank capacity or below the max line, and tighten the filler cap until it seals before pressurizing or lighting. A tank that is filled to the brim leaves no room for pressure changes, and fuel can spill when the cap is seated or the stove warms up. After filling, check that the filler cap is threaded squarely and snugged down before you move to the priming step.
Never Use a Stove or Heater Inside Your Tent
Never use a stove or heater inside your tent. Carbon monoxide and fire risk build quickly in an enclosed space, even with the door open, and tent fabric does not provide safe ventilation for combustion. Keep all stoves and heaters outside, set them away from the tent body and gear, and cook only in open air with the flame supervised the entire time.
What Should You Do About Leftover Fuel or a Stuck Filler Cap?
If the tank leaves fuel at the bottom or the cap will not open, stop and follow the manufacturer's maintenance guidance rather than forcing or modifying parts. A reader mentioned a stuck filler cap on a liquid-fuel stove, and a common frustration is that some tanks leave residual fuel that the pickup cannot reach. Both situations call for the same response: do not pry, bend, or disassemble parts in the field, because that can create leaks or pressure problems.
Are Wind Screens Safe for Every Camp Stove?
Only use a windscreen the manual allows, because some canister-mounted stoves risk overheating when a shield traps heat around the fuel canister. A windscreen that wraps too tightly can heat the canister body to a dangerous level, even if the flame looks normal. Check the stove manual before using any shield, and remember that a windscreen alone does not fix poor simmer control.
How to Light a Liquid Fuel Camp Stove Safely
Follow the manufacturer's order: inspect, fuel, prime, ignite, because skipping a step increases the chance of fuel spills, pressure problems, or flares. The sequence matters more than speed. Read the manual once at home, then run through the steps again at camp with the stove cold and the valve closed.
What Should You Check Before Lighting?
Make sure the valve is closed, place the stove on level ground away from tents and flammables, and check fire restrictions, campsite rules, and weather. A stove on sloped or rocky ground can tip during priming, and a flame near dry grass or tent fabric spreads quickly in dry or windy conditions. Fire restrictions may prohibit liquid-fuel stoves in certain areas, so verify that your stove type is allowed before you unpack fuel.
How Do You Fuel the Tank Safely?
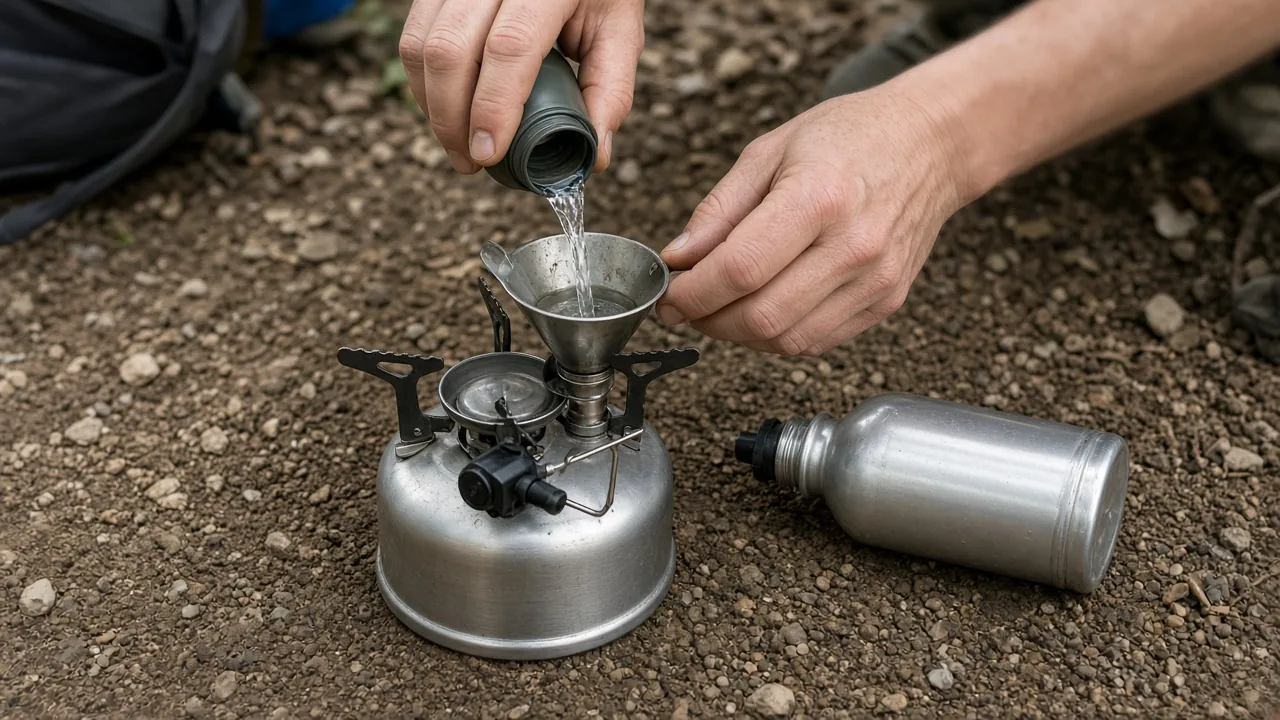
Add fuel through a funnel, watch the level closely, keep the tank below the max line, and reseal the filler cap before moving on. Fueling should happen with the valve closed and the stove cool. Pour slowly, because fuel can surge through a narrow filler neck, and stop well below the top of the tank. If you spill fuel on the stove body or your hands, wipe it off and move the fuel bottle away from the heat zone before the next step.
How Do You Prime and Ignite the Burner?
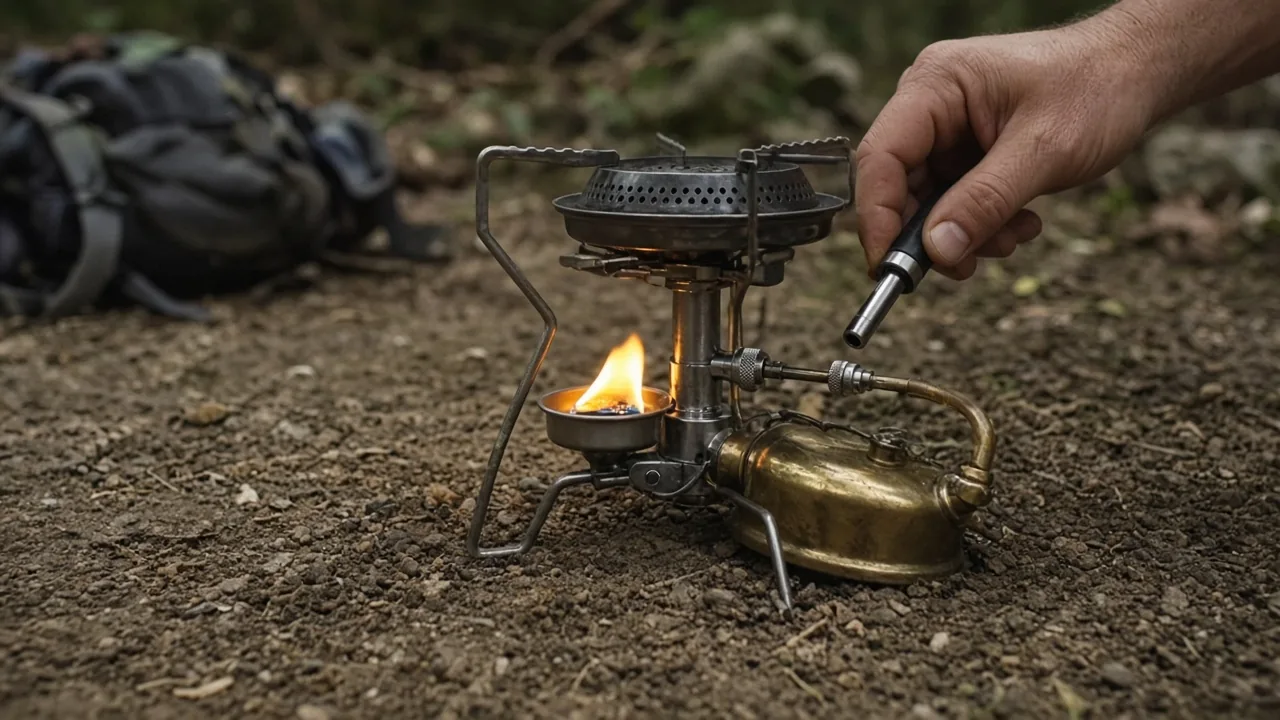
Fill the preheat cup with priming fuel, light it, wait for that flame to burn out, then hold a lighter near the burner while slowly opening the valve. The preheat flame heats the burner enough that liquid fuel vaporizes when it exits the jet. Opening the valve before the preheat burn finishes can release liquid fuel that pools and flares instead of lighting cleanly. Keep your face and hands clear of the burner during ignition.
How Do You Set and Supervise the Flame?
Open the valve gradually to get a stable flame, use a lid to retain heat, and stay with the stove the entire time it is burning. A slow valve opening gives you control as the fuel starts flowing and the flame settles. Once the burner is lit, adjust the valve to a steady flame rather than a weak, flickering flame or a roaring one. Keep a lid on the pot to hold heat, and do not leave the stove unattended even for a quick walk to the water source.
What Campsite Setup Makes Liquid-Fuel Stoves Safer?
A correct lighting sequence still needs a stable, well-ventilated site and cookware that fits the stove's size and weight limits. Even a properly lit stove can become unsafe if it is placed where wind, uneven ground, or oversized pots change how it behaves.
Where Should You Place the Stove?
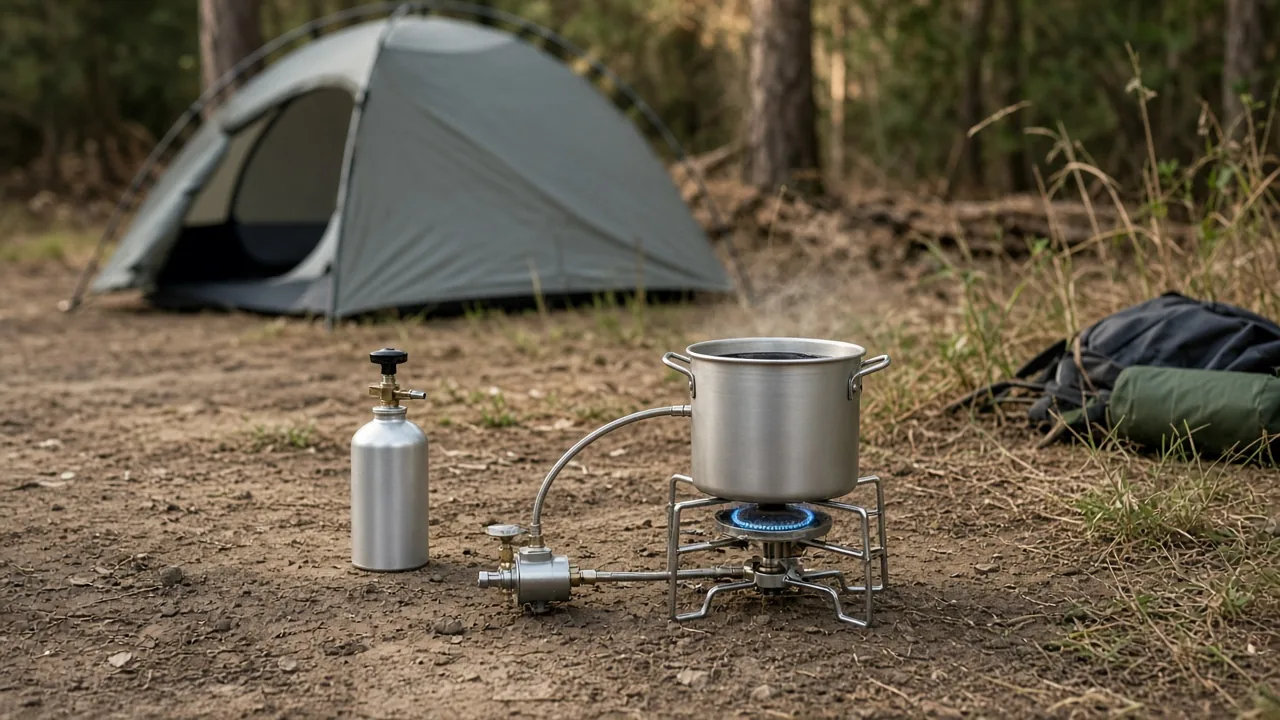
Set the stove on level, durable ground away from the tent, dry grass, and gear, and keep fuel bottles clear of the heat zone. Durable surfaces include established cook areas, bare dirt, or rock, not dry leaf litter or tent vestibules. Fuel bottles should sit upwind and several feet away from the stove, with the cap sealed when not in use. Food and scented cookware should follow bear-safe storage rules for your campsite.
How Do Wind and Pot Size Affect Safety?
Match pots to the maker's limits and test low-flame control outside, since wind and pot size change how the stove simmers and how stable it feels. A wide, heavy pot can overhang the burner and trap heat around the stove body, while a tall pot can make the setup top-heavy. Wind gusts can push the flame sideways or blow out a low simmer. Before the trip, practice with the same pot you plan to use and observe how the flame responds at low and high settings.
How Do You Handle Wind Without an Improvised Shield?
If wind makes the flame unsafe, do not box in the stove to trap heat; switch to a no-cook backup meal or wait for safer conditions. Wrapping the stove with random gear, foil, or a makeshift barrier can overheat the fuel tank or canister and create a fire hazard. Use a windscreen only if the manual specifically allows one, and if the wind is strong enough to blow out the flame, cooking over an open flame is not the right call.
What Are the Alternatives to a Liquid-Fuel Stove?
For mild trips, short boils, or group cooks who want simpler lighting, a canister stove is often the lower-risk choice; liquid fuel still fits when a refillable supply is worth the extra steps. The decision comes down to trip length, weather, and how much fuel handling you are willing to manage.
When Is a Canister Stove the Better Option?
Choose canister fuel for short trips or beginners because it lights quickly and avoids liquid fueling steps, though windscreen and simmer limits still apply. A canister stove does not need a preheat cup or a separate fuel bottle, and you do not pour liquid fuel near an open flame. For most two- or three-day trips in fair weather, a canister stove is the simpler and lighter choice. Check the manual before adding any windscreen, because some canister-mounted models carry an overheating warning.
What Should You Pack and Practice Before the Trip?
Practice lighting outdoors, pack the funnel and priming fuel securely, and let the stove cool completely before packing it out. Run through the full sequence in your yard or a park before you rely on it at camp, and store the fuel bottle upright in a sealed bag away from food and clothing. After cooking, turn the valve off, wait for the flame to die, and let the stove cool completely before reaching for the tank or packing it into a bag.
For car campers, extra weight and complexity matter less than convenience and dependability, so a liquid-fuel stove may be a reasonable choice if you cook full meals and want a refillable tank. For backpackers, every ounce adds up, and a canister stove usually fits better unless the trip calls for a fuel that handles longer use or colder conditions. Match the stove to whether you are car camping or backpacking, the overnight low, wind, and chance of rain; if liquid fuel does not fit this trip, take a simpler canister setup instead.
Camp Kit Journal
This article is general information about camping gear, not professional safety, medical, or wilderness training. Check fire restrictions, weather, and campsite rules before you go, and follow the manufacturer's instructions for your own equipment.
FAQ
How do you light a liquid fuel camp stove safely?
Close the valve, place the stove on level ground, fuel the tank below the max line, fill the preheat cup with priming fuel, light it, wait for that flame to burn out, then hold a lighter near the burner while slowly opening the valve.
What fueling mistakes cause liquid-fuel stove fires?
Overfilling the tank, leaving the filler cap loose, lighting out of sequence, using a stove inside a tent, or using unapproved wind screens. Each can let fuel reach a flame before you are ready.
Can you use a windscreen with a liquid-fuel camp stove?
Only use a windscreen if the manual allows it. A windscreen that traps heat around the fuel tank or canister can overheat and create a fire hazard.
When is a canister stove a better option than a liquid-fuel stove?
For short trips, beginners, or simple boiling in fair weather, a canister stove is often the lower-risk choice because it avoids liquid fueling steps and lights quickly.
What should you do if the filler cap is stuck or fuel is left in the tank?
Stop and follow the manufacturer's maintenance guidance. Do not pry, bend, or disassemble parts in the field because that can create leaks or pressure problems.



