How to Clean a Hydration Bladder Without Soap Residue
A practical guide to cleaning a hydration bladder thoroughly, covering the reservoir, hose, and bite valve with step-by-step instructions, cleaner comparisons, and mold prevention tips.
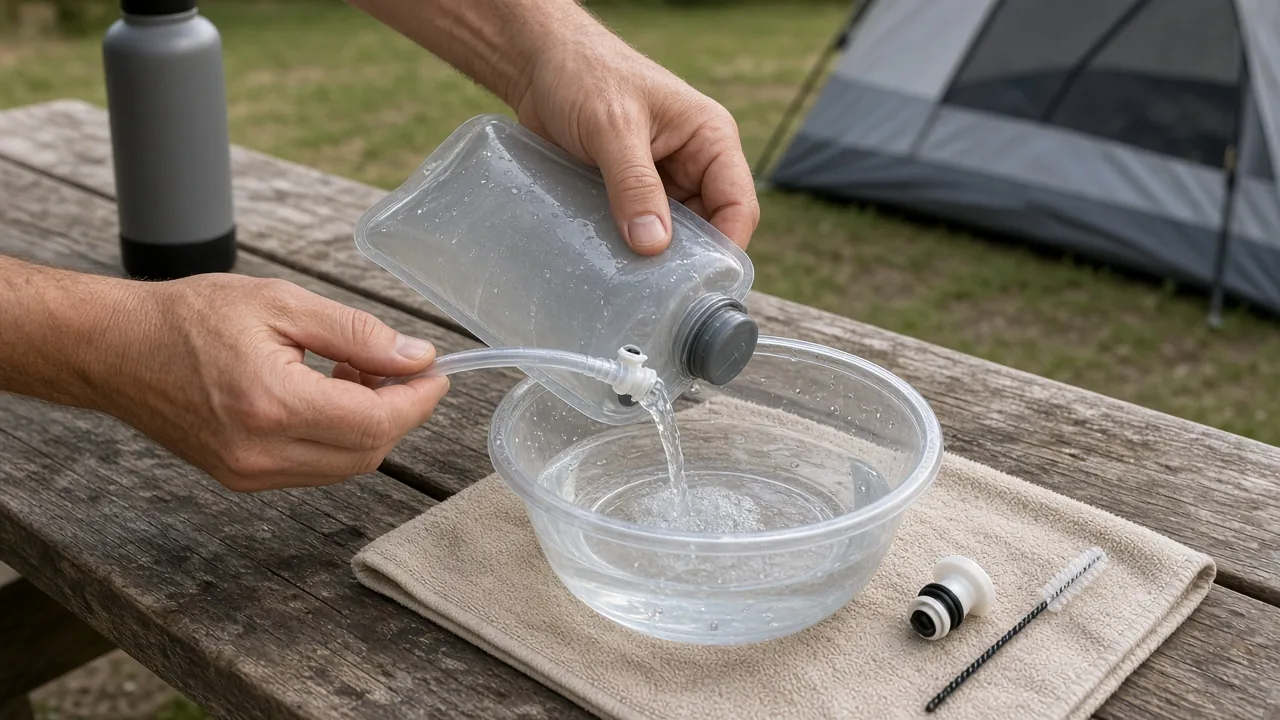
The short answer to how to clean a hydration bladder is to disassemble, soak with a mild cleaner, brush the bladder and hose, rinse until there is no soap taste, and dry completely before storage. That sequence prevents residue and mold better than quick rinses. If you only flush a bladder with water after a hike, you are leaving a film inside the hose, bite valve, and folds of the reservoir.
How to Clean a Hydration Bladder: Quick Rinse vs. Full Wash
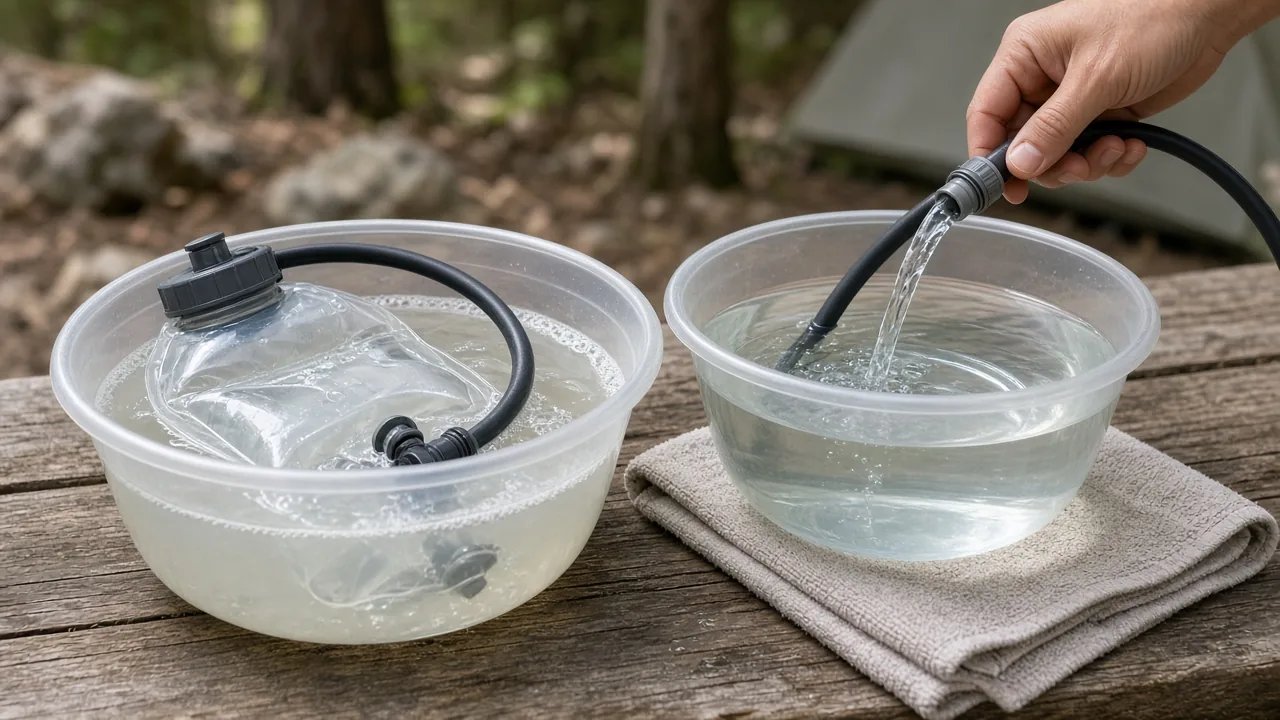
Start with a full wash rather than a water-only rinse because grime hides in the hose and bite valve. The right method depends on how recently you used the bladder and what you put inside it.
When a quick rinse is enough
If you filled the bladder with water only and used it the same day, a rinse can get you by. Empty the bladder, fill it with clean water, attach the hose, and run some water through the bite valve. That removes loose water and delays growth. A quick rinse does not scrub the inner walls or the mouthpiece and leaves moisture in the hose. Treat it as a holding step, not a substitute.
When to go straight to a full wash
If the bladder sat for days, has an odor, or held a drink mix, go straight to the full wash. Sugary drink powders leave residue that encourages bacteria, and old water trapped in the hose can start to smell musty. Any soap taste after rinsing is also a sign of incomplete cleaning. Rather than rinsing a soapy bladder over and over, disassemble it and clean every part.
How to Clean a Hydration Bladder and Hose Step by Step
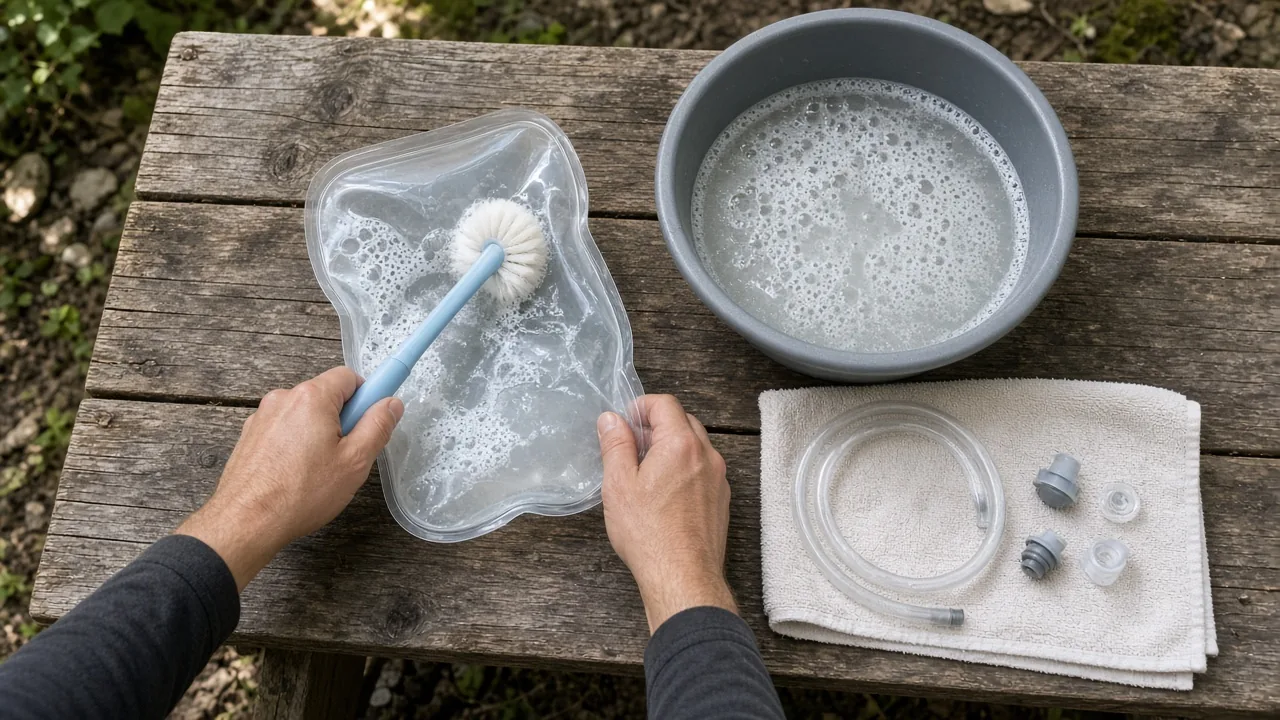
The core sequence is soak, disassemble, brush, flush the hose, clean the bite valve separately, rinse thoroughly, and dry completely. Each step removes a different residue risk.
Fill the bladder with water and add a mild cleaner at about the same strength you would use for washing dishes. Let the solution soak for 10 to 20 minutes depending on how dirty the bladder looks. A bladder used only with water may need the shorter soak, while one with drink mix or visible film benefits from the full 20 minutes.
After soaking, pour out the solution and take the bladder apart into reservoir, hose, and bite valve. Scrub the inside of the reservoir with a long brush, paying attention to the seam around the fill opening and the hose connection. A kitchen brush can work if it reaches the far corners. The water that comes out during brushing can appear dark even when the bladder looked clean, which shows how much builds up in folds and corners.
Flush the hose with clean water until the water runs clear. If you have a tube brush, run it through the hose in both directions. Without one, a knotted paracord or thick cord can scrub the inner wall. Finish by rinsing every piece under clean running water until there is no soapy smell or taste on any part. Silicone bite valves take longer to rinse than hard plastic.
Dry everything completely. A hanger or hook can hold the bladder mouth open so air reaches the inside. Hang the hose in a curve with both ends open. Do not pack any part away until it feels dry to the touch inside and out.
How do you get soapy water through the hose?
Fill the bladder with cleaning solution, attach the hose, and squeeze until solution flows from the bite valve. That fills the tube so the entire drink path soaks. After soaking, flush the hose with clean water before scrubbing. The initial flush pushes out loosened debris.
How to clean the bite valve and hard-to-reach parts
Remove the bite valve and soak it separately because it contacts your mouth, shoes, and ground. It is often the dirtiest part. Some bite valves can be disassembled further; dry hands help because silicone is hard to grip when wet. Use a small brush or knotted paracord for crevices, then rinse thoroughly. Silicone holds soap residue more than hard plastic, so give it an extra rinse and a quick sniff test.
How do you clean the hose if you don’t have a tube brush?
Run a knotted paracord or thick cord through the hose and pull it back and forth so the knots scrub the inner wall. A few overhand knots spaced along the cord work better than one big knot. Tie the cord to a small weight, like a clean nut or plastic bead, to help feed it through a wet hose. This works for routine cleaning; a dedicated tube brush cleans faster and more evenly.
What Cleaner Should You Use in a Hydration Bladder?
Compare cleaners by residue risk, mold treatment, and ease of rinsing. Dish soap works for routine washes, tablets or bleach suit mold, and baking soda handles odor. The common thread is that every cleaner needs thorough rinsing.
| Cleaner | Best use | Residue risk | Mold and odor treatment | Rinsing demand |
|---|---|---|---|---|
| Dish soap or hand soap | Routine cleaning after water or drink mix | Moderate if not rinsed fully | Light odor only | High; rinse until no taste |
| Cleaning tablets | Severe mold or persistent odor | Low to moderate | Strong | Moderate |
| Bleach, diluted | Stains or serious microbial growth | High if not rinsed fully | Strong | Very high |
| Baking soda | Odor removal | Moderate | Moderate | High |
| Lemon juice or citric acid | Rinse aid or light odor | Low | Weak | Moderate |
Dish soap or hand soap
Ordinary dish soap or hand soap at normal dishwashing strength is enough for routine cleaning. It cuts through drink mix residue and the slippery film inside a used bladder. The main drawback is incomplete rinsing leaves a soapy taste. Use the same amount you would for a sink of dishes. Some people avoid dish soap because they worry about stomach upset from residue; that is usually a rinsing problem rather than a soap problem. Rinse until there is no taste.
Cleaning tablets, bleach, and baking soda
Use cleaning tablets for severe mold because they kill microbes and neutralize odor more effectively than dish soap. They are preferred when a bladder smells musty even after washing. Follow the soak time and rinse thoroughly. Baking soda and diluted bleach are backup options for odor and stains. Mix bleach at a low concentration and do not combine it with other chemicals; rinse aggressively.
Lemon juice or citric acid alternatives
Some campers report lemon juice or citric acid works for light odor, but evidence does not support mold-killing results. Treat these as a rinse aid, not a sanitizer. If you try lemon juice, rinse and dry fully. For regular use, stick with a cleaner with a clearer track record.
How to Dry a Hydration Bladder and Hose Completely
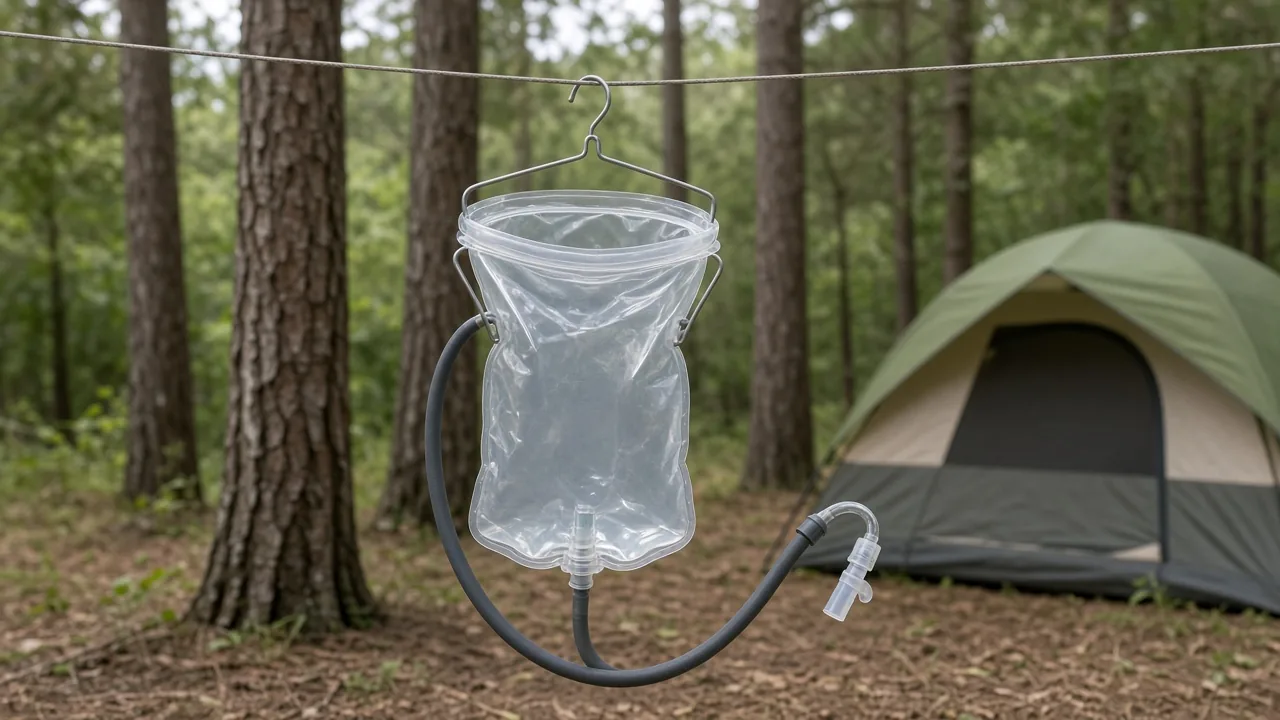
Drying is the most important step. Hang the bladder open with a hanger and hang the hose so air can flow through. A bladder can be scrubbed clean and still develop a musty smell if packed away damp.
The bladder should dry for a day or two before rolling or packing. Folds in the reservoir hold water that a shake-out cannot reach. A wire hanger bent into a loop can hold the fill opening wide. A clean kitchen towel propped inside the opening also helps air circulate, as long as it is dry and does not block airflow.
The hose needs its own drying time. Hang it over a shower rod or clothesline so both ends point down. Water that pools in the middle of a coiled hose can sit for days.
Why can’t you just shake it out and store it?
Shaking out water leaves films of moisture in folds and the hose, which is enough for bacterial growth and musty smells. The inside of a hydration bladder has seams and corners that hold droplets. A damp bladder stored in a pack can smell off within a few days. The fix is not more soap next time; it is thorough drying now. If you are in a hurry, at least leave the cap open and keep the bladder in a warm, dry room.
How to speed up drying without heat
Use a hook to hold the bladder mouth open and place the hose in a curve with both ends down. Air movement helps more than heat. Set the bladder near a fan or in a dry room with some circulation. Do not use a stove or heater to dry gear, and never use a stove or heater inside your tent. If you are at a campground, a drying line outside works when dry; bring the bladder inside before night if humidity rises.
Mold and Odor: Do You Need Bleach or Cleaning Tablets?
A musty smell after a normal wash usually means the bladder was not dried fully. Before reaching for harsher chemicals, do a complete soap wash and dry cycle. Visible black or green spots are mold, which can hide in the hose.
Cleaning tablets are the most effective for serious mold because they sanitize and deodorize. Use them when a bladder has sat with water for a long time, when mold is visible, or when a clean bladder still smells musty. Run the solution through the hose and bite valve, then rinse thoroughly and dry in open air.
Baking soda and bleach can treat odor or stains, but rinse more aggressively and avoid mixing them with other chemicals. For baking soda, shake a small amount inside the bladder with warm water, let it sit, then scrub and rinse. For bleach, use a dilute solution and keep it away from clothing and gear. Bleach is hard to rinse completely from plastic and silicone, so use it only when the stain or mold problem justifies the extra work.
Hydration Bladder Cleaning Tools: Brushes, Paracord, and Hangers Compared
A dedicated brush kit cleans the bladder, hose, and bite valve fastest. Kitchen brushes and knotted paracord work, but reach and frictional scrubbing vary. The right tool depends on whether you are cleaning at home, at a car camping sink, or in the backcountry.
| Tool | Best for | Pros | Cons | Car camping or backpacking |
|---|---|---|---|---|
| Dedicated cleaning kit | Bladder, hose, bite valve | Fast, sized for each part | Extra cost and pack space | Both, but more useful at home or car camping |
| Kitchen brush | Reservoir interior | Affordable, long handle | May not fit hose; stiff on seams | Car camping |
| Paracord with knots | Hose and bite valve | Light, packable, works in the field | Slower, less even scrubbing | Backpacking |
| Hanger or hook | Drying | Holds bladder open | Only helps after cleaning | Both |
Dedicated cleaning kits
Purpose-made brushes cover the wide bladder and narrow hose with less effort, but they take up pack space and cost more. A good kit includes a long reservoir brush, a flexible tube brush, and a small brush for the bite valve; some include a drying hook. For car camping, a kit is easy to justify. For backpacking, most hikers leave it home. Rinse the brushes and dry them before packing into a kit bag.
Household substitutes
A long kitchen brush and a knotted cord can do the job; this works better for car camping where pack size is not a concern. A bottle brush with a flexible head reaches reservoir seams, and paracord with a few knots substitutes for a tube brush. The tradeoff is speed and consistency. For drying, a coat hanger or cabinet knob can hold the bladder. You don't need a purpose-built rack.
How Often Should You Clean a Hydration Bladder? Car Camping vs. Backpacking
Manufacturer guidance says clean after each use, but many campers skip that. The realistic rule is to clean after every trip where the bladder held anything besides plain water, and to rinse and dry it after plain-water use even if you skip soap.
Car camping routine
Car camping makes cleaning easier: bring a small brush kit, dish soap, and a drying hook, and clean at a camp sink or at home the same day. If no sink is available, seal the bladder and clean it when you get home, but do not leave it sealed in a hot car. Warm, damp conditions accelerate growth. After washing, set the bladder and hose out to dry at home.
Backpacking routine
For backpacking, keep cleaning weight low with a collapsible bladder, a small scrub brush or cord, and plan to dry at home. You can rinse a bladder on the trail by filling it with clean water, shaking it, and running water through the hose and bite valve. A short length of paracord is the lightest hose scrubber. Tablets are useful on longer trips because they can sanitize even when you cannot dry fully. Do not try to dry gear next to a stove; never use a stove or heater inside your tent. Instead, drain the bladder and hose, keep the cap open, and complete drying at home.
Storing a clean bladder so you clean less next time
After drying, store the bladder open or in a cool dry place. Leave the cap off or the slider open so any lingering vapor can escape. Some campers freeze it with a little water to prevent mold without frequent washing. If you use that method, drain the hose and bite valve separately, and leave expansion room so ice does not stretch the reservoir.
How Should You Store a Hydration Bladder to Prevent Mold Between Trips?
Store bladders completely dry, with the cap off or hanger in place, and avoid sealing moisture inside; freezing can work as a short-term alternative but is less practical for backpacking. Before storage, double-check the hose and bite valve. A reservoir that is dry but connected to a damp hose will still develop odor. Disassemble parts and store separately if you can, with the bite valve open to air.
Dry storage
Let every part dry for a day or two before rolling or packing. The reservoir should be open as wide as practical. Once everything feels dry, roll the bladder loosely. Do not fold it tightly along the same crease every time, and keep it away from heat sources.
Freezer storage
Freezing a bladder with a small amount of water prevents microbial growth for some users, but it requires freezer space at home. The idea is that freezing halts bacterial activity, so you can skip some wash-and-dry cycles. The drawback is a hard, cold bladder taking up freezer room, and you still need to drain the hose. Freezing also does not clean the bladder; it only pauses growth. If you use this method, leave expansion room and do not freeze the bite valve attached if it can crack.
Before a trip, check whether your route is car camping or backpacking, expected overnight temperatures, and rain chance to decide if a hydration bladder and its cleaning kit need to come along. A wide-mouth bottle is sometimes easier to dry, especially on a rainy weekend when a hose can stay wet for days. If you do bring a bladder, pack its drying and cleaning plan the same way you pack a rain shell or headlamp: with a specific job and a specific place.
This article is general information about camping gear, not professional safety, medical, or wilderness training. Check fire restrictions, weather, and campsite rules before you go, and follow the manufacturer's instructions for your own equipment.
FAQ
How often should I clean a hydration bladder?
Clean after each use, especially if it held anything besides plain water. For plain water use, at least rinse and dry completely. A full wash is needed if it sat for days, has odor, or held a drink mix.
Can I clean a hydration bladder with dish soap?
Yes, ordinary dish soap works for routine cleaning. Use it at normal dishwashing strength, scrub all parts, and rinse until there is no soapy taste or smell.
How do I dry a hydration bladder to prevent mold?
Disassemble it, hang the bladder open with a hanger or hook, and hang the hose in a curve with both ends open. Let all parts air dry completely for a day or two before storage.
What should I do if my hydration bladder has mold?
Use cleaning tablets for visible mold or persistent odor. Tablets sanitize and deodorize; follow the product's soak time, then rinse thoroughly. Baking soda or diluted bleach are backup options.



