How to Choose a Bug Out Bag Backpack for Evacuation
Learn how to choose a bug out bag backpack for evacuation, from dual-strap carry security and hip belts to modular packing and sizing for car or foot travel.
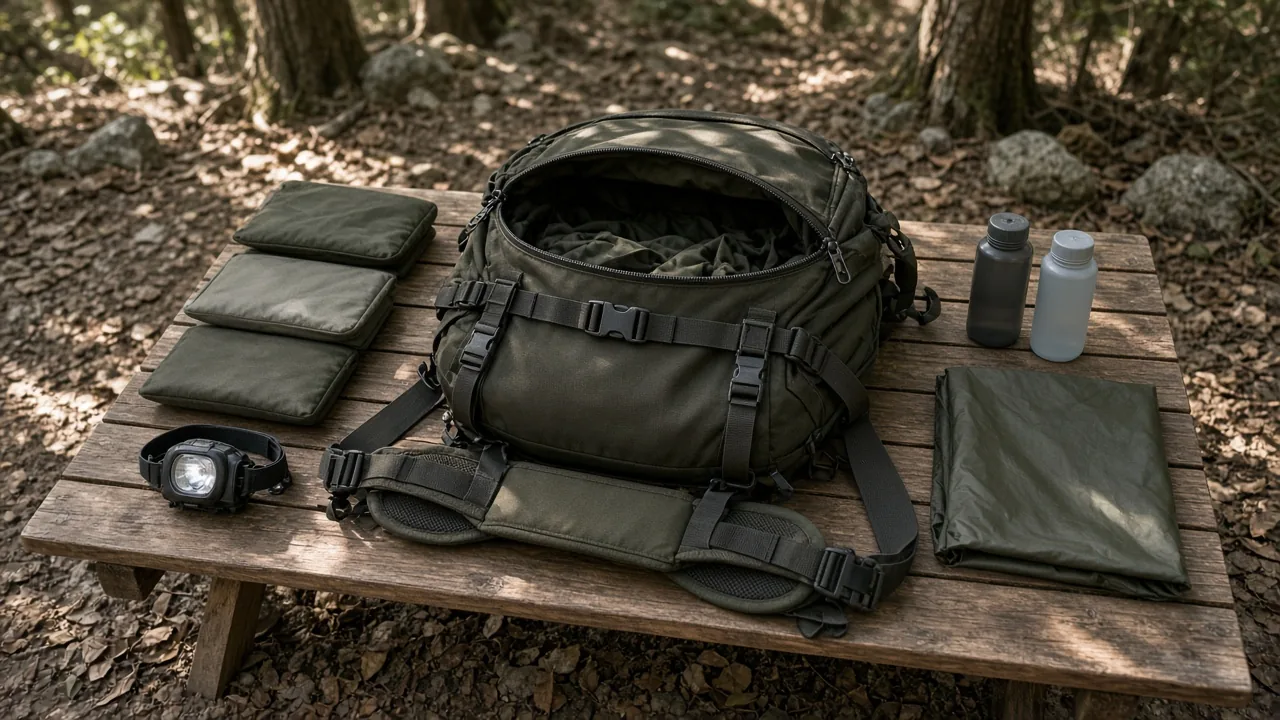
背包本身与里面的装备同样重要。选择带胸带和腰带的双肩包,按你可能面对的最长徒步距离确定容量,并把装备按即取模块分类收纳,而不是塞进单一开放式主仓——这正是 how to choose a bug out bag backpack 的关键。一个会移位、散开或逼你只能用一只手拎着的背包,在紧急撤离时会成为累赘。因此,在往清单里增加任何其他物品之前,先把背包选对。
How to Choose a Bug Out Bag Backpack: Carry Security First
A backpack with a sternum strap and hip belt keeps the load against your body if you run, climb, or push through crowds. A single-strap or hand-carry bag shifts with every movement and can be pulled away or dropped when you need both hands. Security means the pack stays on your body and stays closed without constant attention.
Why Hand-Carry and Single-Strap Designs Fall Short
A low-cost hand-carry organizer can look tidy on a shelf, but it fails the moment evacuation gets physical. Several users who reviewed a compact family organizer noted that the carry style was the weakest part of the design. It frees only one hand, which is a problem when you are opening doors, helping a child, or bracing yourself in a crowd. It can also be yanked off a shoulder or out of a hand, putting your entire kit at risk. A bag that depends on your grip is not a bag you can rely on.
Single-strap messenger-style bags cause similar problems. The load rides on one shoulder, pulls unevenly, and swings forward when you bend or run. Over even a short distance on foot, that unbalanced weight strains your back and slows you down. In a crowd, a crossbody strap can be grabbed or caught on objects. The minimum standard for evacuation carry is two shoulder straps, not one.
What to Check on a Dual-Strap Pack
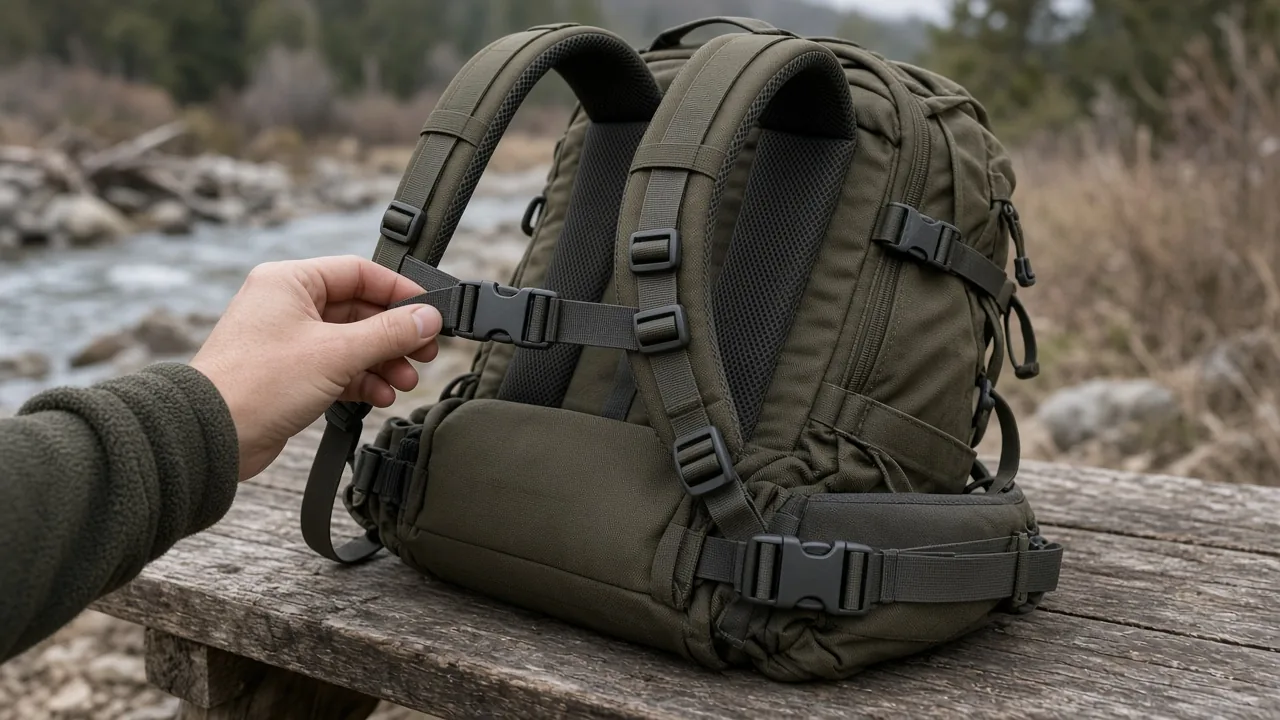
Not every backpack with two straps is ready for an evacuation. Check four features before you trust a pack with emergency gear. Padded shoulder straps distribute pressure across a wider surface and reduce digging when the pack is heavy. An adjustable sternum strap keeps the shoulder straps from sliding outward or off your shoulders, which matters if you are running or climbing over obstacles. A hip belt transfers a portion of the weight to your hips and keeps the pack from bouncing against your lower back.
The pack fabric and closure system matter too. Look for zippers or buckles that stay closed when the bag is bumped, dropped, or squeezed into a vehicle. A pack with a loose top flap or a weak drawstring can spill contents at exactly the wrong moment. If you are choosing between a pack with a hip belt and one without, choose the hip belt version if you plan to carry any meaningful weight on foot.
Compare the Three Bags by Weight, Capacity, and Access
Three rough profiles help show how different evacuation packs handle weight and organization. One is an ultralight 12-liter overnight kit that weighs about 58 ounces including the pack. Another is a compact family organizer that stays under about 8.5 pounds but uses a hand-carry design. A third is a 72-hour water-first load built around six bottles of water. These are not exact product specifications, but they illustrate how capacity and weight shift with the type of evacuation you plan for.
Weight and Pack Size
The ultralight overnight kit packs into a 12-liter pack and totals about 58 ounces, or roughly 3 pounds 10 ounces. That is light enough to carry all day and small enough to keep in a vehicle without taking up much room. The compact family organizer weighs under about 8.5 pounds and measures less than 16 inches long. That size is easy to move around a house or into a car, but the hand-carry design limits how far you can comfortably walk with it.
The 72-hour kit illustrates how water drives weight. Six standard water bottles alone add roughly six pounds before you include food, tools, light, or shelter. A three-day water supply is heavy by itself, so the pack you choose must comfortably carry that base weight. A lightweight daypack without a hip belt will feel punishing after a few miles with six-plus pounds of water inside.
Internal Access and Task-Based Pockets
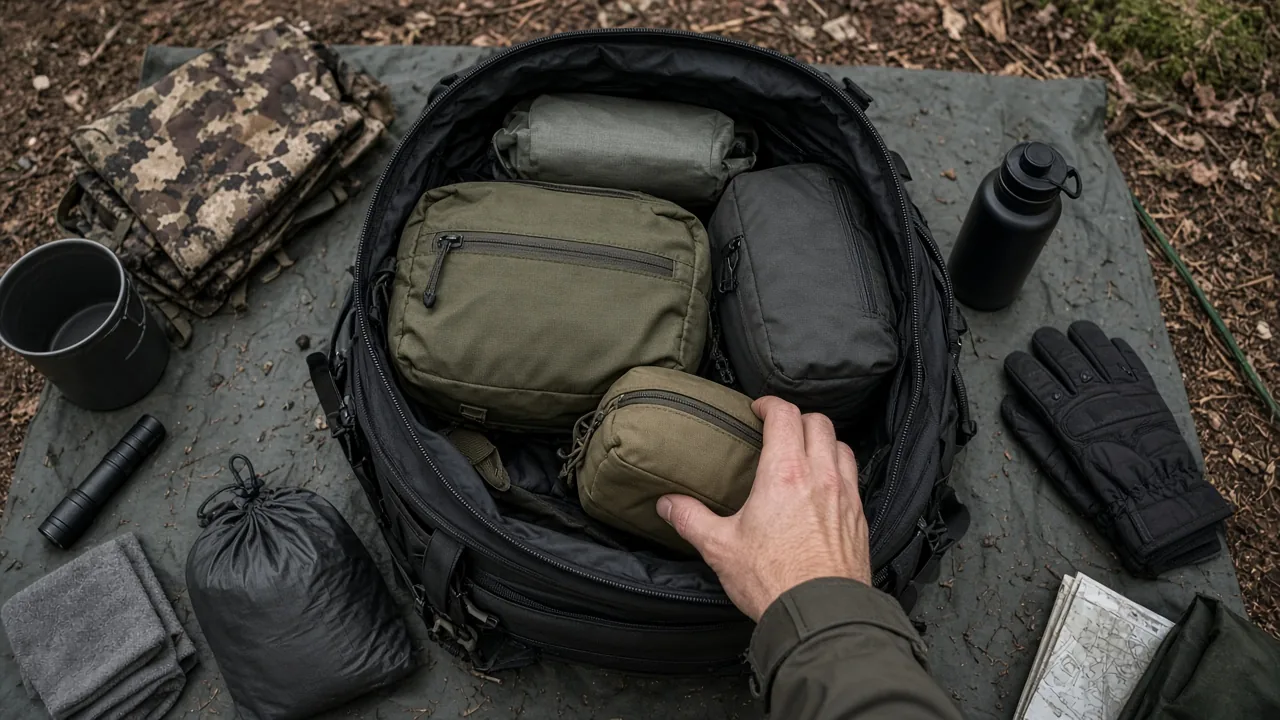
A single large cavity is the slowest possible layout when you need one item quickly. The 12-liter overnight kit uses small labeled pouches for water treatment, fire, first aid, and shelter. You can pull the exact module you need without unpacking everything else. The compact family organizer uses hook-and-loop dividers inside a sub-16-inch bag, letting the owner reposition compartments as the kit changes.
Both approaches beat one open compartment. When you need a headlamp, a bandage, or water purification, you should not have to dig through food and clothing to find it. Task-based pockets also make it easier to check what is missing or expired. A pack with several external pockets, a separate lid compartment, or internal attachment points gives you options that a single cavity does not.
Weather and Durability Trade-Offs
Lighter packs are often made from thinner fabric. A lightweight daypack may be fine in dry weather but offers little protection in rain unless you add a dry bag or rain cover. The 72-hour water-first load highlights why waterproofing matters: you may be moving through rain or flooding, and clothing or electronics that get wet are no longer reliable.
A sturdier organizer can hold more and may survive rougher handling, but that capacity has a downside. Extra room tempts you to fill it with items you do not need, pushing the weight beyond what you can carry comfortably. The right pack size forces discipline. If the bag is too small, you leave out essentials. If it is too large, you carry unnecessary weight.
Side-by-Side Profiles: Minimal Overnight, Household, and 72-Hour Kits
Each pack profile prioritizes a different trip length. Your backpack should match the kit you actually build, not the other way around. A 12-liter pack cannot hold a family's worth of supplies, and a 40-liter pack will feel wrong if you are only walking from a parking garage to a shelter.
| Profile | Approximate Pack Size | Approximate Total Weight | Primary Use | Carry Style |
|---|---|---|---|---|
| Minimal overnight | 12 liters | About 58 oz (3 lb 10 oz) | One night on foot | Dual-strap daypack |
| Household evacuation | Under 16 inches long | Under about 8.5 lb | Short transfer or car evacuation | Hand-carry organizer |
| 72-hour baseline | Not specified; water alone adds ~6 lb | Six bottles of water plus gear | Three days on foot | Dual-strap with hip belt recommended |
Minimal Overnight: 12 Liters and Nearly Always with You
A small dual-strap bag can hold one night's shelter, water treatment, fire, and food if every item is compressed and modular. This profile uses labeled pouches for each function: a liquid two-part water treatment set, a folding one-liter water bag, a fire kit with ferro rod and tinder, a Mylar-coated tarp for shelter, and a titanium cup with lid for heating water or food.
The advantage of a 12-liter kit is that there is almost no excuse to leave it behind. It fits in a vehicle, under a desk, or beside a door. The disadvantage is limited comfort in cold or wet weather. A rain cover or dry bag becomes necessary, and the kit assumes you can find and purify water rather than carry all of it. This profile suits a person who may need to walk a few miles and spend one night outside.
Household Evacuation: Compact but Not Hands-Free
A family kit that stays under about 8.5 pounds in a sub-16-inch organizer shows good weight discipline. The internal hook-and-loop dividers let you arrange food, first aid, tools, and documents in separate compartments. The contents are practical: two days of ration-style food, a medical kit with wound care and a thermal blanket, a poncho, cordage, a multi-tool, and a notebook with contact information.
The weakness is the carry style. A hand-carry or shoulder-sling organizer is fine for moving from a house to a car, but it fails the security test for walking any real distance. If you build a kit like this, select a similar-size backpack with two shoulder straps and a sternum strap instead. Keep the modular dividers if you can, but change the carry system.
72-Hour Baseline: Water Drives Volume and Weight
A three-day plan forces you to confront water volume first. Six bottles of water add about six pounds before food, tools, or shelter. The bag must comfortably carry that base weight, which means a hip belt becomes important. This profile also emphasizes no-cook food like compressed ration bars, disposable lighters as the primary fire source, and AA alkaline or lithium batteries for long-shelf-life lighting.
This approach is more conservative than the ultralight overnight kit. It prioritizes bottled water over field purification as the primary supply, keeping water treatment as a backup. The trade-off is weight. Six pounds of water is a fixed cost you cannot compress. The pack you choose for a 72-hour kit should be sized around the water, not around the other items.
Choose by Evacuation Type, Not Just by Gear List
The right pack depends on how you expect to evacuate. Using your car for a short transfer changes the calculation. Walking overnight changes it again. Water access and weather determine whether you carry water or carry the means to treat it.
Car Evacuation or Short Transfer
If you can reach a vehicle quickly, a tidy dual-strap daypack or small backpack works well. The pack only needs to carry your gear from the house to the car and from the car to wherever you stop. You can keep a spare water supply in the car itself, reducing what the pack must hold. This is the scenario where a compact organizer with good internal dividers is most useful.
The risk is assuming you will always have the car. If roads are blocked or the vehicle is inaccessible, your short transfer becomes a foot evacuation. Build the car-transfer kit in a backpack anyway, not in a hand-carry bag. The backpack costs nothing in convenience and gives you a working carry system if you have to walk.
Foot Evacuation with Possible Overnight
If you may sleep outside, the pack needs three things. A hip belt is the first requirement, because the load will include shelter, water, and extra clothing. A reflective tarp or rain cover is the second, because exposure to rain or cold overnight is a real risk. A plan to purify water is the third, because carrying all the water you might need for an overnight stay is heavy and impractical.
This scenario favors the 12-liter overnight approach or a slightly larger version of it. A Mylar-coated tarp reflects body heat and packs small. A folding water bag plus treatment drops lets you use streams or other water sources. A titanium cup lets you boil water if you have a stove. None of these items solve every problem, but they give you options without adding much weight.
Overnight Shelter and Stove Safety
If the bag includes a titanium cup and a stove, use it only outside. Never use a stove or heater inside your tent. Even a small stove produces carbon monoxide, which can build up quickly in a tent or vehicle and become lethal. Fire risk is equally serious: tent fabric can ignite or melt. Set up the stove on a flat, stable surface away from the tent entrance and any dry vegetation.
The same rule applies to any fuel-burning appliance. Charcoal grills, liquid-fuel stoves, and propane heaters all require open air. If the weather is bad enough that cooking outside feels unsafe, choose no-cook food for that meal instead. Plan your food around this reality: some meals should be edible cold or with just water.
Family and Group Split Carrying
When more than one person is evacuating, split the load. Water and dense food go across two packs so no single person carries all the weight. This reduces fatigue and means one lost or damaged pack does not eliminate the group's entire food or water supply. Designate one outer pocket for cash, IDs, and a written contact sheet in case phones die.
A written contact sheet matters more than people expect. Phone batteries drain, networks go down, and people forget numbers they normally access from a contact list. Write down names, phone numbers, meeting locations, and any medical information on a slip of paper or waterproof notepad. Keep it in the same outer pocket every time so anyone in the group can find it without asking.
Maintain and Refit the Bag So It Stays Secure and Accessible
A bag packed once and forgotten will hide expired batteries, food, or medicine until the moment you need them. Set a schedule to open the pack, check dates, and repack in the correct order. Heavy items should sit close to your back for balance. Frequently needed items belong in outer pockets or the top of the pack.
Expiry and Battery Replacement Cycle
Sealed ration bars and AA lithium cells store longer than fresh food or alkaline batteries, but they still need replacement. Check food, medicine, lighter fuel, and power banks on a dated list. Write the expiry date on the outside of each pouch or on a packing checklist inside the lid. Power banks lose charge over time even when unused, so recharge them every few months.
Lighter fuel is easy to forget. Disposable lighters can lose pressure slowly, and a lighter that fails when you need a fire is worse than no lighter at all. Keep one lighter dedicated to the pack and test it during each check. If a lighter has been in the pack for a year, replace it or rotate it into household use and put a fresh one in the kit.
Packing Order for Fast Access
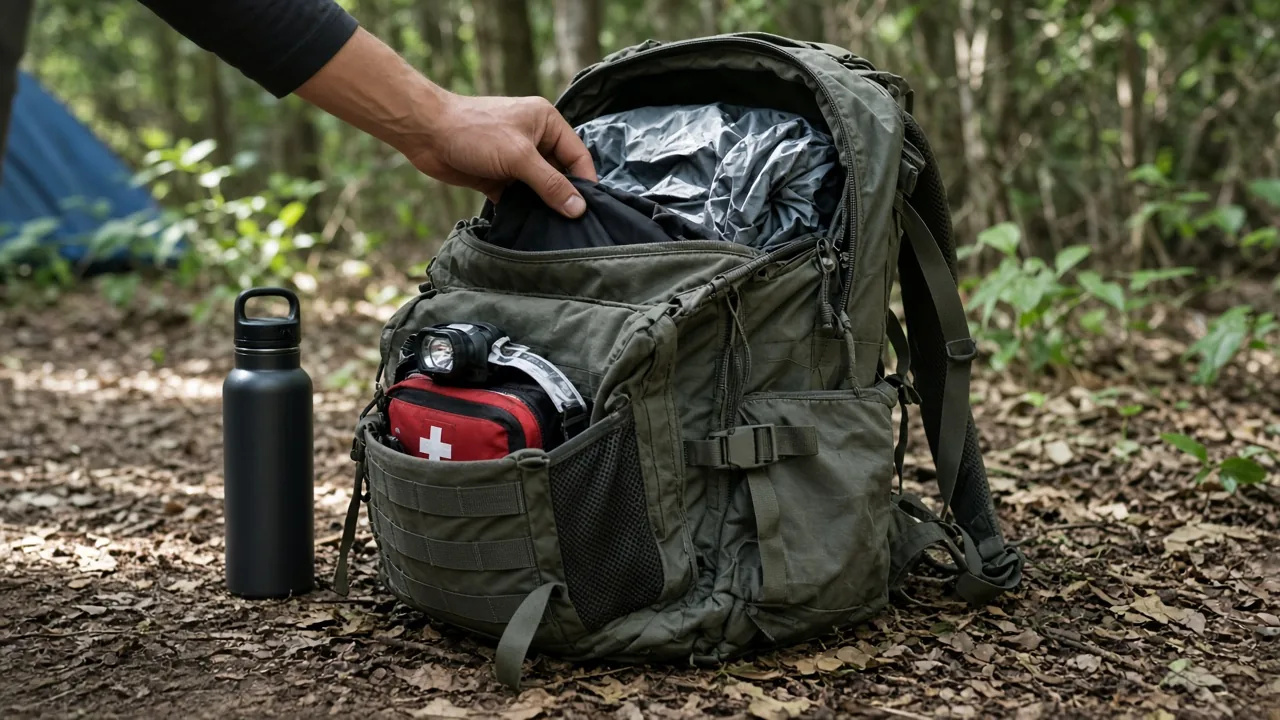
Put water close to your spine. It is one of the heaviest items and placing it near your back keeps the pack balanced and reduces strain. First aid and light go in outer pockets where you can reach them without removing the pack. Shelter or rain gear goes where one hand can pull it when conditions change suddenly.
Emergency gear should never be buried. A headlamp buried under three layers of food is useless when the power goes out in a dark room. A rain poncho at the bottom of the pack means you get wet while unpacking. Pack in reverse order of urgency: the items you need last go in first, and the items you need first stay on top or in external pockets.
Before packing anything else, confirm whether this is a car or foot evacuation, how cold the overnight low may be, and whether rain is expected. Then verify that water, shelter, and first aid are reachable without unpacking the whole bag. If you are still building your kit, look at how a small daypack with a hip belt can hold a night's shelter, water treatment, and food in labeled pouches. If you are refining a larger kit, start by weighing the water supply and building the pack around it. The right backpack makes the difference between carrying emergency gear and actually using it.
This article is general information about camping gear, not professional safety, medical, or wilderness training. Check fire restrictions, weather, and campsite rules before you go, and follow the manufacturer's instructions for your own equipment.
FAQ
What is the most important feature in a bug out bag backpack?
A dual-strap design with a sternum strap and hip belt keeps the load secure and balanced during movement. It also helps prevent the pack from shifting or being pulled away when you run, climb, or move through crowds.
Should I choose a hand-carry organizer for a family bug out bag?
No, hand-carry designs fail the security test for walking any real distance. Choose a similar-size backpack with two shoulder straps and a sternum strap instead, and keep the modular dividers if possible.
How much water should a 72-hour bug out bag carry?
A 72-hour kit may include six bottles of water, which add about six pounds before other gear. Build the pack around that base water weight and use a hip belt to carry it comfortably.
How do I pack a bug out bag for fast access?
Put water close to your back for balance, first aid and light in outer pockets, and shelter or rain gear where one hand can reach it. Pack items in reverse order of urgency, with the most-needed items on top or in external pockets.
How often should I check my bug out bag?
Set a schedule to open the pack and check expiration dates, batteries, lighter fuel, and power banks. Recharge power banks every few months and replace or rotate lighters that have been stored for a year.



