Best Sleeping Pad for Side Sleepers: A Practical Guide
This guide compares air, self-inflating, and closed-cell foam sleeping pads to help side sleepers find the best balance of thickness, width, R-value, and durability.
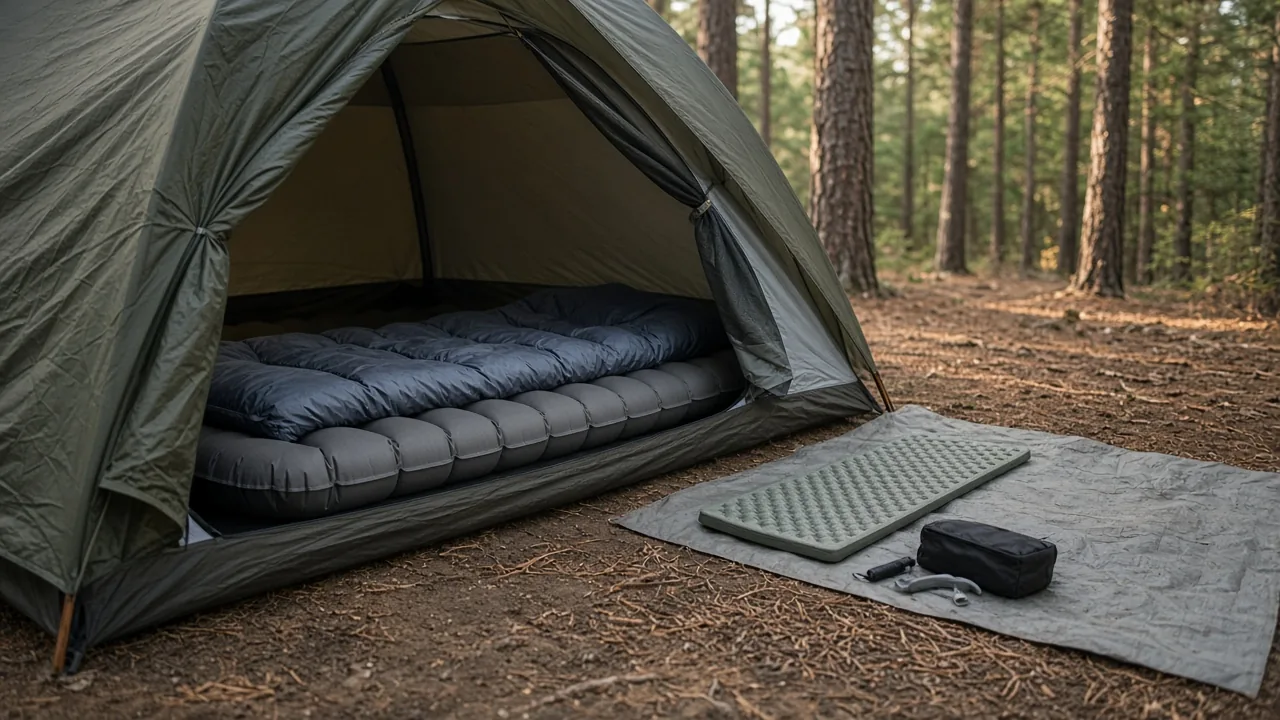
If you sleep on your side, the best sleeping pad for side sleepers is usually a thick, wide air pad or a supportive self-inflating pad with enough R-value for the overnight low. Pair it with a repair kit and a groundsheet or closed-cell foam layer to reduce pressure points and puncture risk. The right pad keeps your hip and shoulder off the ground without forcing you to sleep on your back.
Side sleepers put more concentrated pressure on a pad than back sleepers do. A pad that feels fine for someone on their back can leave a side sleeper waking up with a numb arm or aching hip. The fix is not simply buying the thickest pad you can find. You need to match thickness, width, R-value, and durability to how and where you camp.
Best Sleeping Pad for Side Sleepers: Compare the Three Main Types
Sleeping pads fall into three broad categories: closed-cell foam, air pads, and self-inflating pads. Each has a different balance of weight, warmth, packed size, puncture resistance, and suitability for car camping or backpacking.
| Type | Weight | R-value | Puncture resistance | Packed size | Best use |
|---|---|---|---|---|---|
| Closed-cell foam | Light | Typically lower; varies by thickness | Excellent | Bulky | Budget camping, winter layering, ultralight use |
| Air pad | Light to moderate | Often higher than foam | Lower; punctures possible | Small | Backpacking, side sleepers, motorcycle camping |
| Self-inflating pad | Moderate to heavy | Varies | Lower than foam; can puncture | Medium to bulky | Car camping, base camp, comfort-first trips |
For most side sleepers, a thick air pad is the default choice. It packs small enough for backpacking and provides enough loft to keep your hip and shoulder off the ground. Self-inflating pads can work well for car camping when weight and bulk are less important. Closed-cell foam alone is usually too firm for side sleeping.
Air Pads
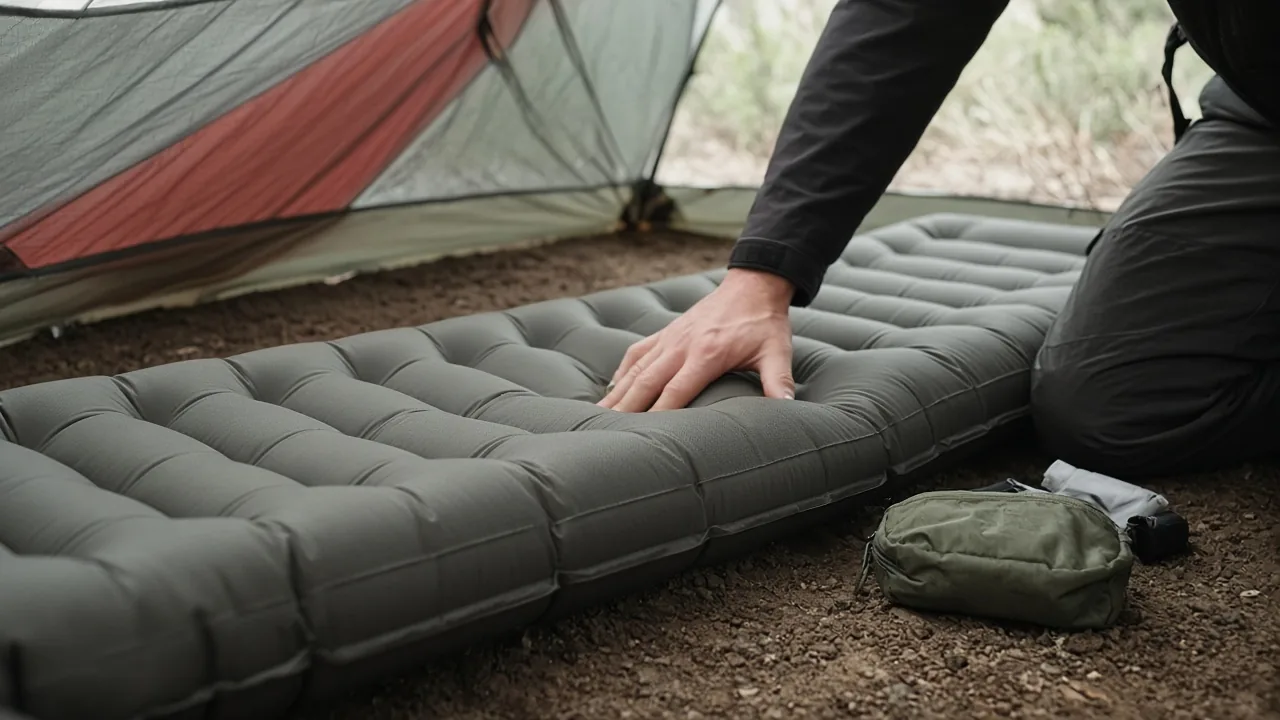
An air pad is the most practical starting point for a side sleeper. The key is choosing a model with enough inflated thickness that your hip and shoulder do not bottom out when you lie on your side. A pad that is comfortable when you sit on it may still collapse too much under the focused pressure of a hip.
Width matters as much as thickness. Sleepers who shift from side to back to side during the night often roll off narrow pads. A wide 25-inch model, especially one with raised side rails, helps keep you centered. Those side rails also add a little structure at the edges, which some campers find more secure than a fully flat pad.
The tradeoff is durability and care. Air pads can be punctured by sharp sticks, rocky ground, or abrasive tent floors. A repair kit belongs in your gear every time. Some air pads also make more noise than others, so check owner reviews for repeated complaints about crinkling or squeaking before choosing a model.
Self-Inflating Pads
A self-inflating pad combines open-cell foam inside an air-tight shell. When you open the valve, the foam expands and draws in air. You usually finish with a few breaths or pump strokes to reach your preferred firmness.
For side sleepers who are car camping, a self-inflating pad offers a good balance of cushioning, warmth, and convenience. It feels more stable than some air pads because the internal foam damps movement and bounce. The downside is weight and packed size. Most self-inflating pads are heavier and bulkier than a comparable air pad, which makes them a poor fit for backpacking unless you are willing to carry extra pounds for comfort.
One outdoor reviewer described a self-inflating pad as the most comfortable sleeping pad he had used, but also noted he would not carry it on a backpacking trip because the weight did not justify the ride comfort.
Closed-Cell Foam Pads
Closed-cell foam pads are the simple, inexpensive, nearly indestructible option. They weigh little, never puncture, and can double as a sit pad around camp. The drawback for side sleepers is support. A thin foam pad does not create enough distance between your hip and the ground, so pressure points develop quickly.
Closed-cell foam still has a place in a side sleeper's kit. It works as a puncture shield beneath an air pad on rocky or brushy ground. In winter, it adds R-value under an inflatable pad. Many backpackers carry a short or full-length foam pad for that dual purpose, even when it is not their primary sleeping surface.
Key Specs for the Best Sleeping Pad for Side Sleepers
Once you know which type of pad you want, match the specifications to your trip. Three numbers matter most for side sleepers: R-value, thickness and width, and weight and packed size.
R-Value and Cold Ground
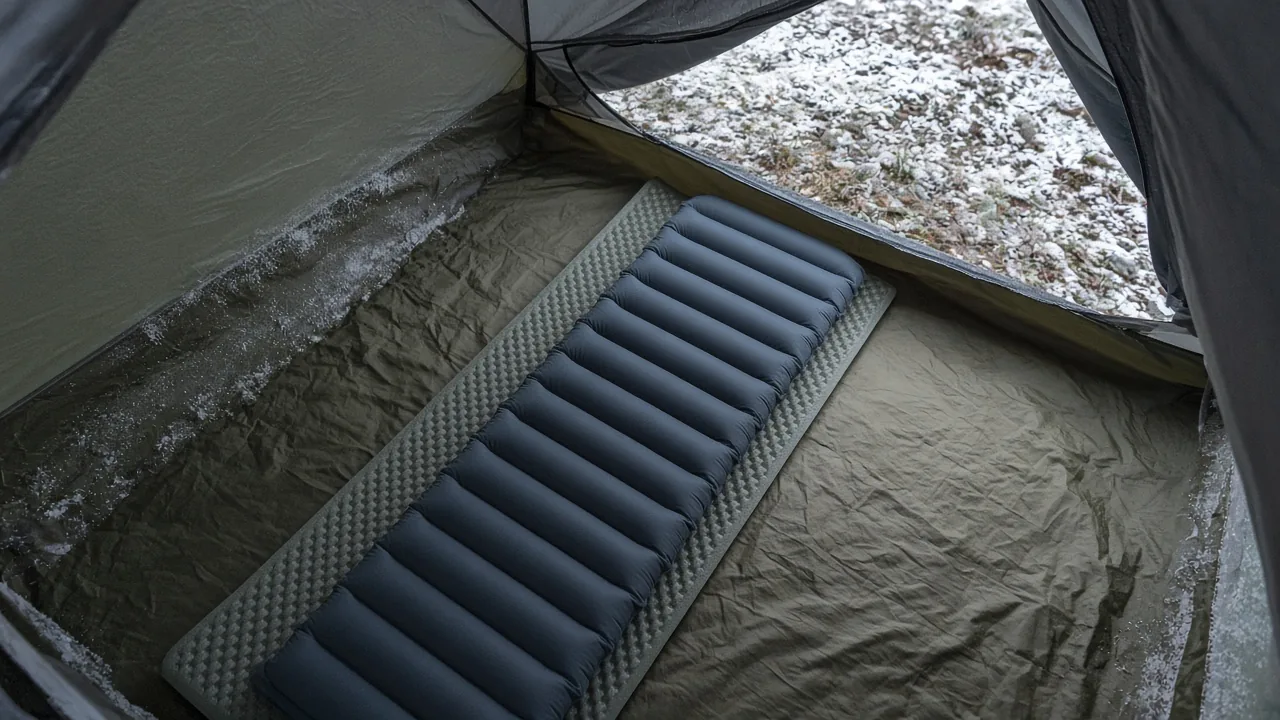
R-value measures a pad's resistance to heat flow. A higher R-value means better insulation from cold ground. The same pad that works in July can leave you shivering in October if the ground temperature drops.
An R-value around 3.5 is a reasonable shoulder-season rating for many campers. It takes the edge off cool ground in spring and fall. When overnight lows approach or dip below freezing, that rating may not be enough on its own. A common solution is to place a closed-cell foam pad under your air pad. The foam adds insulation and protects the air pad at the same time.
Some pads carry much higher manufacturer-rated R-values, which helps in cold weather but can reduce ventilation in hot months. If you camp in a wide range of temperatures, consider a moderate R-value pad plus a foam layer rather than one extremely warm pad for every trip. When cold weather pushes your sleep system, adjust your insulation before trying to warm the tent itself. Never use a stove or heater inside your tent; the carbon monoxide and fire risk outweigh any short-term warmth.
Thickness, Width, and Support
Thickness is the first spec side sleepers check, but it is not the only one that determines support. A thick pad with low internal pressure may still let your hip press through to the ground. A thinner pad with firmer internal support may keep you better elevated.
A practical check is to inflate the pad and sit on it. It should compress only slightly under your body weight. When you lie on your side, neither your hip nor your shoulder should touch the ground. Some air pads use taller edge chambers and slightly shorter center chambers, which spreads weight more evenly across uneven ground.
Width is just as important. A pad around 58 to 60 cm, roughly 23 to 24 inches, is common. Side sleepers who move at night often prefer a 25-inch-wide model with side rails, because the extra width reduces the chance of rolling off onto the tent floor. If you use a quilt instead of a mummy bag, a wider pad also helps keep the quilt tucked around your shoulders.
Weight and Packed Size
Backpackers should compare air pads closely by weight and packed size. A compact pad that weighs around 18 to 23 ounces is common in the air pad category, though materials and features push that number up or down. The smaller the packed size, the easier it is to fit inside a backpack with a tent, sleeping bag, stove, and food.
Car campers can ignore grams. A self-inflating or extra-thick pad that weighs several pounds still fits easily in a vehicle. Setup convenience, cushioning, and width matter more than packed size when you are only carrying the pad from the car to the tent platform.
Durability, Leaks, and Noise to Check Before You Buy
Air pads and self-inflating pads both contain air, and both can puncture or develop slow leaks. The best defense is a combination of careful site preparation, ground protection, and a repair kit.
Puncture Prevention
Before pitching your tent, clear the area of sharp sticks, pine cones, and loose rocks. Even small debris can pierce a thin pad fabric when you kneel or shift weight on top of it.
A groundsheet under the tent helps in two ways. It protects the tent floor and adds a barrier between the pad and the ground. On rough or brushy ground, place a closed-cell foam pad under your air pad as well. The foam absorbs point pressure from rocks and roots that would otherwise focus on one small spot in the pad's shell.
Slow Leaks and Repair
A fast puncture is easier to find than a slow leak. A slow leak may take hours to soften the pad, and the source can be nearly invisible. Test any new pad at home by inflating it and leaving it overnight. If it softens noticeably, inspect the valve and seams before your trip.
Keep a patch kit accessible during the night. If you wake up on the ground at 2 a.m., you do not want to empty your entire pack to find the kit. Check the valve first if a pad loses air quickly. Valves can loosen or trap debris, and a partial valve seal is often easier to fix than a fabric puncture.
Some campers report specific pads losing air multiple times in a single night, even when the pad was new. Others describe slow leaks that could not be located or permanently repaired. These reports are common enough that you should read owner reviews with durability in mind before buying any inflatable pad.
Noise and Comfort
An air pad that crackles every time you move can ruin sleep even if it is warm and thick. Fabric type and internal baffle construction both affect noise. Some pads have a soft, fabric-like surface that is quieter than slicker materials. Others sound like a chip bag.
Look for comments from side sleepers specifically. A back sleeper may not notice the same noise or firmness issues that a side sleeper does. Firmness is a separate comfort variable. A pad that feels too hard or bouncy can often be softened slightly by releasing a small amount of air through the micro valve after lying down.
Choosing a Sleeping Pad by Camping Style
The best sleeping pad for side sleepers depends on whether you are backpacking, car camping, or doing a mix of both. The same model that feels luxurious at a drive-up site may be an unreasonable weight burden on a multi-day hike.
Backpacking Setup
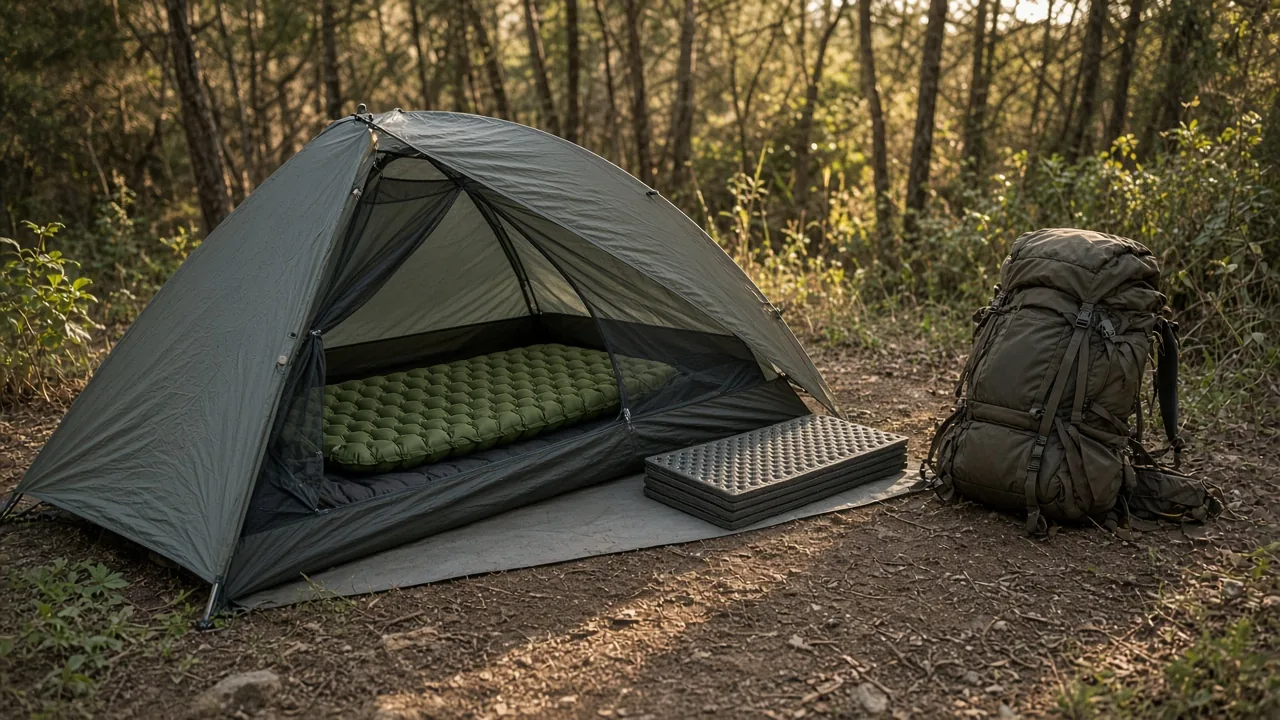
Backpackers should start with a compact air pad as the primary cushion. Choose a wide or regular-wide model if you move at night, because a few extra ounces is a fair trade for staying on the pad. Check the R-value against the lowest temperature you expect. If the forecast is near freezing, add a closed-cell foam pad under the air pad.
The foam pad does two jobs in this setup. It adds insulation and protects the air pad from punctures. It also gives you a durable surface to sit on during breaks. The weight penalty is small for a foam pad, and the combination can be warmer than a single high-R-value air pad in some conditions.
Car Camping Setup
Car campers can choose a self-inflating or extra-thick pad without worrying about pack size. Wider pads and taller side rails make side sleeping easier. You can also layer a closed-cell foam pad under any inflatable or self-inflating pad for extra warmth and protection.
If you camp in cold weather from a vehicle, consider carrying a self-inflating pad with a higher R-value and a foam pad as backup. The extra bulk matters less than staying warm and comfortable through a long night.
How to Inflate, Adjust, and Pack the Pad
A pad that is set up correctly performs better and lasts longer. Getting the firmness right matters more for side sleepers than for back sleepers because pressure points are more pronounced.
Inflation and Firmness
Inflate the pad until it supports your hip and shoulder without bottoming out. You can test this by lying on your side on the pad. If either point touches the ground, add air. If the pad feels too hard or bouncy, release a small amount of air through the micro valve and test again.
Some pads include a stuff sack that doubles as a pump. Attach the sack to the valve and fill it with air, then squeeze the air into the pad. This reduces moisture from breath getting trapped inside the pad, which can lead to mildew over time. Follow the pad manufacturer's instructions for whichever inflation method your model uses.
Deflating and Storage
Open the second valve, sometimes called the dump valve, to release air quickly. Once the pad is flat, roll it without sharp creases. Sharp, repeated folds can stress the fabric and bonded seams over time.
Dry the pad before long-term storage. If you pack it away damp or stuffed with condensation, trapped moisture can encourage mildew or cause internal layers to delaminate. Store the pad loose or lightly rolled, not compressed hard for months. The same care extends the life of self-inflating pads, whose internal foam can lose its rebound if stored tightly compressed.
Final Checklist for Side Sleepers
Before you head out, check your sleeping pad against these questions:
- Is the pad thick and wide enough for side sleeping, or do you need a wider model?
- Does the R-value match the expected overnight low for this trip?
- If rain or cold is likely, do you have a groundsheet or closed-cell foam layer?
- For backpacking, is the weight and packed size acceptable?
- For car camping, did you prioritize cushion and width over grams?
- Do you have a repair kit packed and easily reachable?
- Have you tested the pad at home for slow leaks and adjusted the firmness?
The most comfortable pad on a showroom floor is only as good as its setup on a wet, cold, uneven campsite. Match the pad to the trip, protect it from the ground, and keep a repair kit close. That combination gives you the best chance of sleeping through the night on your side instead of waking up on the tent floor.
When you pack for the trip, check whether you are car camping or backpacking, how cold the overnight low is likely to get, and whether rain is in the forecast. If you have not yet paired the pad with a groundsheet or foam layer, that is the next purchase worth planning.
This article is general information about camping gear, not professional safety, medical, or wilderness training. Check fire restrictions, weather, and campsite rules before you go, and follow the manufacturer's instructions for your own equipment.
FAQ
What is the best sleeping pad type for side sleepers?
A thick, wide air pad is usually the best starting point for side sleepers because it packs small and provides enough loft to keep hips and shoulders off the ground. Self-inflating pads can work well for car camping, while closed-cell foam alone is often too firm.
What R-value should a side sleeper choose?
An R-value around 3.5 is a reasonable shoulder-season rating for many campers. When overnight lows approach or drop below freezing, place a closed-cell foam pad under the air pad to add insulation.
How thick should a sleeping pad be for side sleeping?
The pad should be thick enough that your hip and shoulder do not touch the ground when you lie on your side. A practical check is to inflate the pad, sit on it, and then lie on your side to see if it compresses too much.
Are self-inflating pads good for backpacking side sleepers?
Self-inflating pads offer good cushioning and stability, but most are heavier and bulkier than comparable air pads. They are often a poor fit for backpacking unless you are willing to carry extra weight for comfort.
How can side sleepers prevent punctures in an air pad?
Clear the tent site of sharp sticks and rocks, use a groundsheet under the tent, and place a closed-cell foam pad under the air pad on rough ground. Keep a patch kit accessible so you can repair leaks at night.



