Best Hydration Reservoir for Backpacking: No Leaks or Bad Taste
A hydration reservoir only earns space in your pack if it's easy to fill, drink from, and dry without mold. Here's how to choose the best hydration reservoir for backpacking and avoid leaks or bad taste.
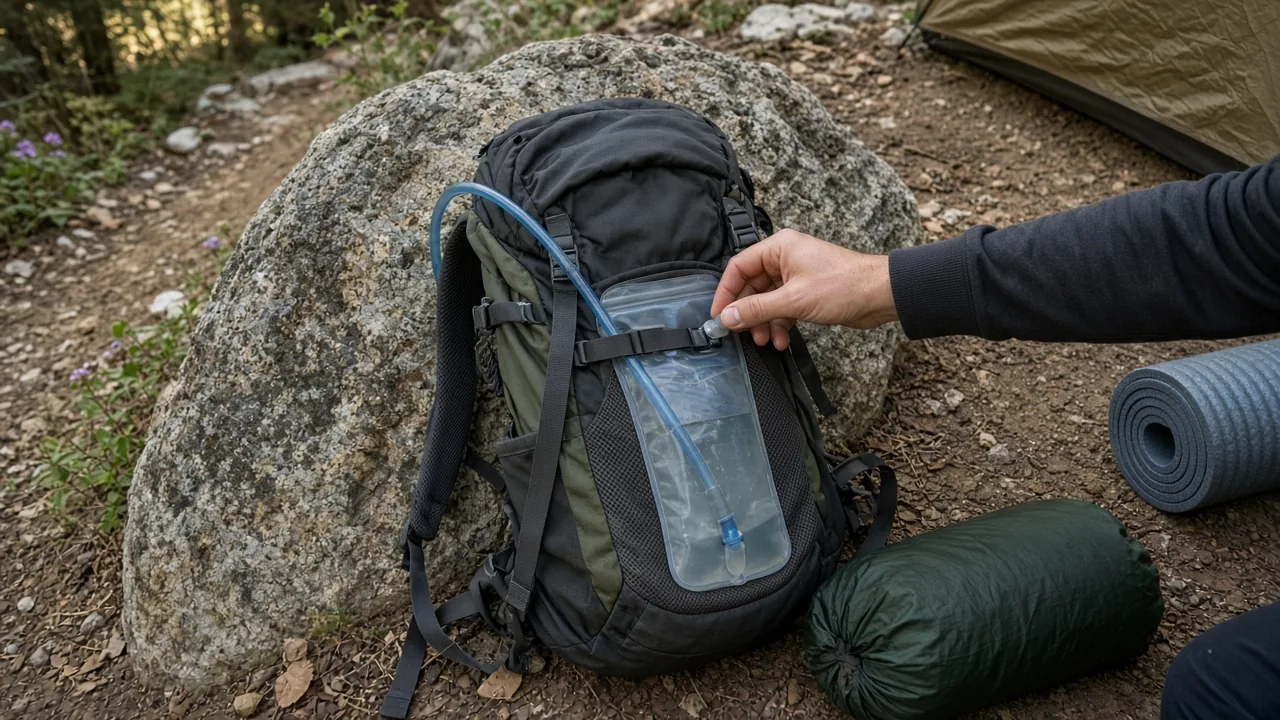
A hydration reservoir only earns space in your pack if you can fill it without a fight, drink from it without a plastic aftertaste, and dry it without mold taking hold. For most backpackers the best hydration reservoir for backpacking is a 1.5 to 3L bladder with a wide opening, a secure closure, a high-flow bite valve, and a shape that actually dries between trips. If any one of those pieces fails, an otherwise good reservoir becomes a leak in your pack or a stomach problem on the trail.
How Much Water Capacity Do You Need for Backpacking?
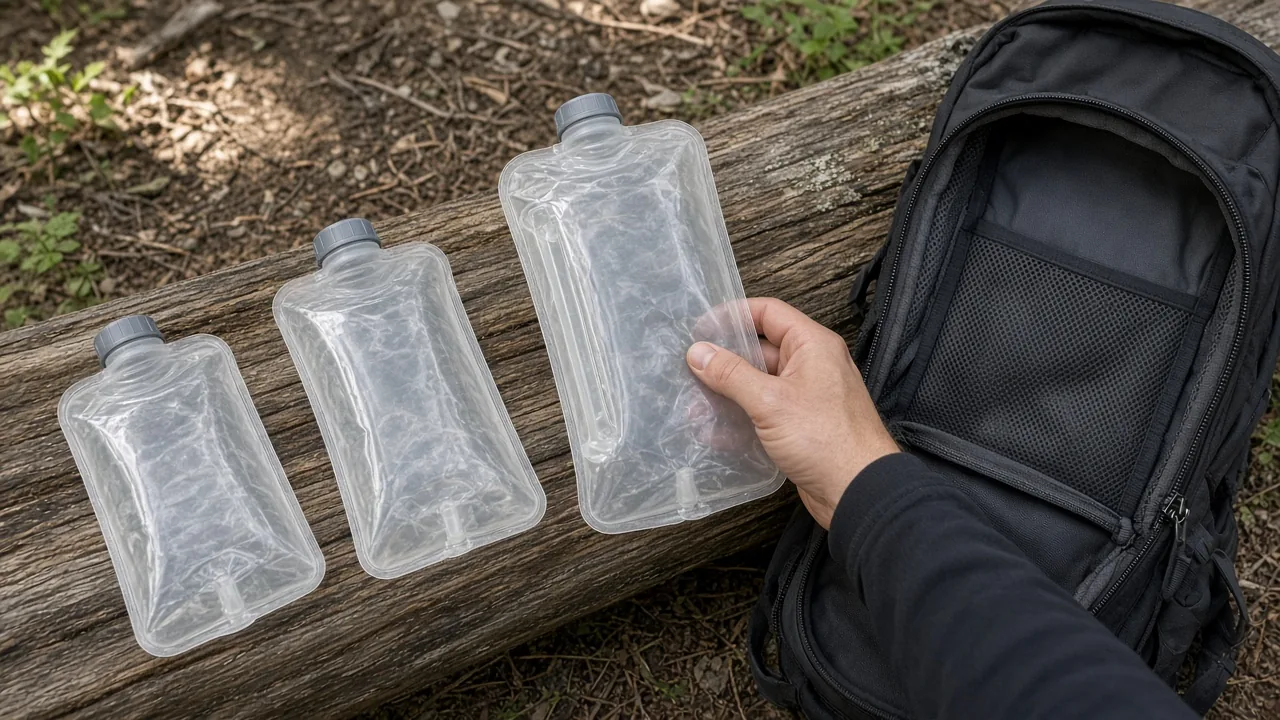
Pick 1.5 to 2L for day hikes and most overnight trips where you can refill along the way. That size is enough for a few hours of hiking without adding unnecessary weight. Step up to a 3L reservoir for long stretches between water sources, warm weather, or hikers who know they drink more than average.
Larger 4L, 6L, and 8L bags serve a different purpose. A 6L or 8L camp bag with a hanging handle makes sense as a basecamp water supply for cooking, group meals, or washing, but it becomes awkward to carry on the trail. A foldable 8L bag works well for car camping trips or as a backup in camp, not as a bladder inside a backpacking pack.
Think about how much space your pack's reservoir sleeve can actually accommodate, too. A 3L bladder that fits the sleeve will carry more water comfortably than a 4L bladder that bunches against your food bag or quilt. Capacity means little if the filled bladder sits so poorly that the hose kinks or the pack pulls to one side.
Which Materials and Closures Help Prevent Leaks and Plastic Taste?
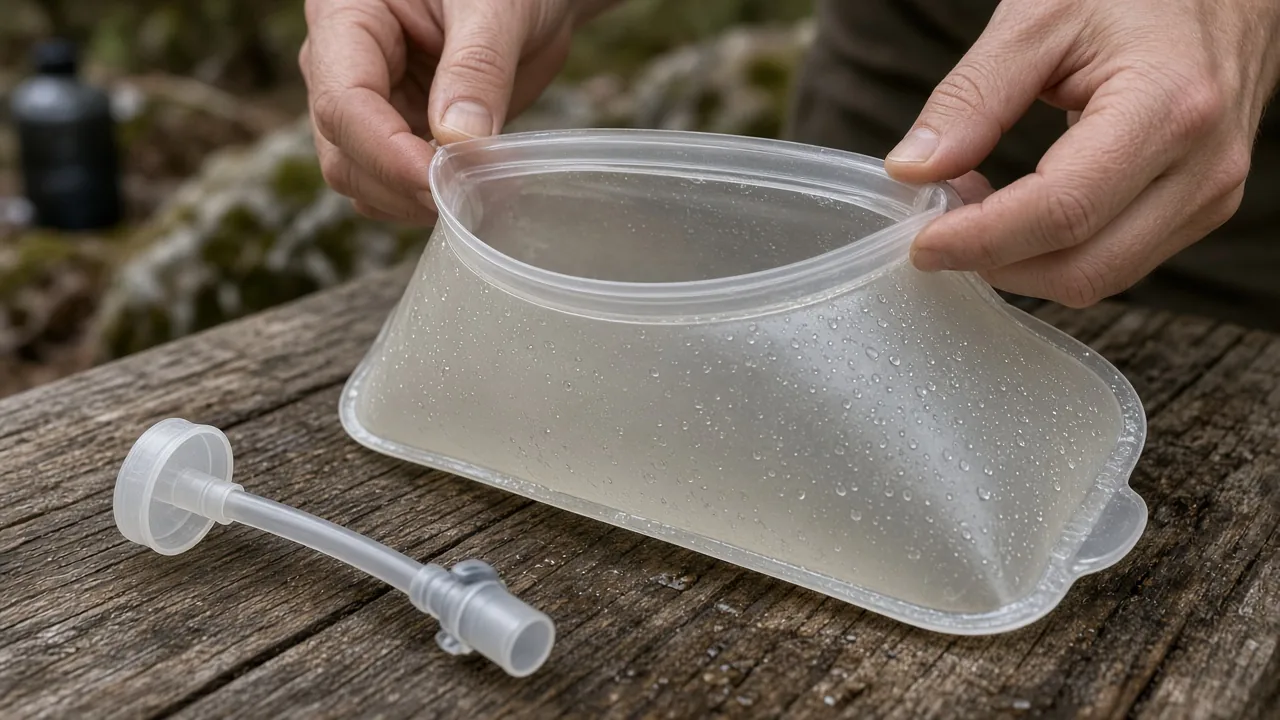
Food-grade TPU or PET bladders with smooth welded seams hold up better than thin, plasticky films that crack at the folds. TPU in particular bends without developing micro-splits, which is where slow leaks often start. Look for BPA-free claims, but treat them as a baseline rather than a guarantee of taste quality.
Closure design matters as much as film thickness. A wide opening with a secure slide or screw cap is easier to close cleanly and less likely to cross-thread than a narrow neck. Some reservoirs use a slide-top that seals along the full width of the opening; others use a screw cap that must seat squarely. Either design can work, but a cap that is easy to inspect and easy to clean around is worth more than a fancy closure you cannot see into.
Welded seams on the side and bottom edges should feel smooth and consistent. If the seam has rough spots or visible air bubbles, skip it. That is where pressure from a full pack creates leaks during a hike.
Why do some reservoirs make water taste bad?
Most plastic-tasting water comes from either a brand-new bladder that has not been rinsed, or water that sat inside far too long. Rinse the bladder, hose, and bite valve before first use, and do not store water in the reservoir for more than 24 hours. Warm, stagnant water picks up flavor from the film and starts to taste stale fast.
Sweet drinks are a separate problem. The residue from sports drinks or juice collects in corners and inside the hose, then spoils. Even a small amount of leftover sugar can throw off your next fill with a sour taste or, in warm weather, set you up for stomach trouble. Keep sweet drinks in separate camp containers, or at minimum rinse the bladder and hose thoroughly immediately after use.
How Do You Choose a Bite Valve and Tube That Won't Be Hard to Use?
A good bite valve should deliver water when you bite lightly, not when you clamp down like a dog on a rope. Look for a high-flow valve with a lock or shutoff you can operate with one hand while walking. A rotating switch that stays in the off position prevents most pack leaks, but only if you can actually turn it with cold or wet fingers.
Hose length should reach your mouth without kinking, whether you route it through a shoulder strap or over the top of the pack. Too long is easier to fix than too short; you can trim a long hose, but a short one forces you to lean forward or crane your neck.
A magnetic or clip retainer keeps the hose end from flapping against your chest or snagging on brush. It is a small convenience that adds up over a full day. If the retainer does not match your pack's sternum strap, check whether the hose can route cleanly anyway.
What if the bite valve is too stiff or leaks?
Test the valve before buying when you can. Some models have a shutoff switch that is stiff enough to make every sip a two-fingered operation. Others have a rubber top piece that can crack over time, letting water seep out between drinks. Inspect that seal before each trip, and replace worn components rather than assuming the whole reservoir is finished.
If you are ordering without a test, choose a model with a widely reported smooth valve and an easy lock. User reports on stiff valves are consistent enough across brands that this is one of the most common reasons a reservoir gets returned or abandoned.
How Do You Clean and Dry a Hydration Reservoir So It Doesn't Get Moldy?
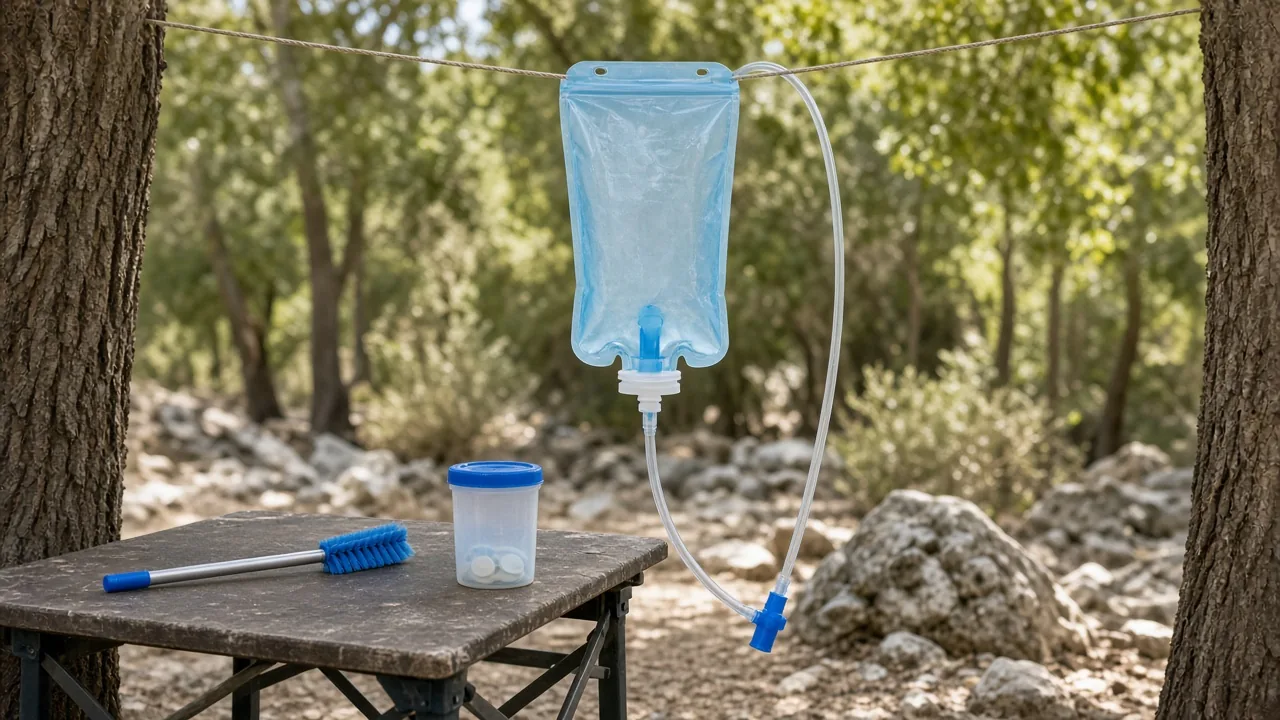
Empty all water after each trip, not the next morning. Rinse the bladder, hose, and bite valve, then dry everything fully before you put it away. Leaving even a small amount of moisture inside a rolled-up bladder creates the dark, damp environment mold needs.
Use warm water with a mild soap or a reservoir cleaning tablet. Fill the bladder, add the cleaner, close it, and shake. Let it sit for about 30 minutes, then empty and rinse thoroughly. Run the same cleaning solution through the hose and bite valve by opening the valve and letting the liquid flow through. For a deeper periodic clean, a solution of baking soda or white vinegar can help with odors. A small brush reaches corners that a shake alone misses.
A cleaning tablet is the most convenient option when you are short on time. Drop one tab into a full bladder, wait 30 minutes, and rinse with clean water. Check the manufacturer's instructions for water temperature, especially if your reservoir has an insulated sleeve or a wide temperature range printed on the material.
What makes some reservoirs easier to clean?
Wide or full-width openings let you reach more of the interior with a brush or your hand. Fully reversible bladders are easier still: you can turn the bag inside out and air-dry every surface. That one feature removes most mold risk because no folded corner stays wet.
Removable hoses and bite valves matter, too. If the hose disconnects from the bladder, you can soak it separately and hang it to drain. A rigid backpanel or handle helps during filling, since the bladder holds its shape under a faucet or in a stream. That convenience adds a little bulk or weight, so decide whether easy filling is more important than a slim pack profile for your trips.
Best Hydration Reservoir for Backpacking: How Do the Main Models Compare?
The right reservoir depends on how far you carry it, how often you fill it, and how picky you are about cleaning. A lighter bladder saves ounces, but often trades away the full-width opening or rigid panel that makes filling and drying easier. A burlier model may be easier to live with in camp but heavier on the trail.
| Model / Style | Capacity | Notable Features | Best Fit |
|---|---|---|---|
| Osprey Hydraulics Reservoir | 3L | Soft TPU film, quick-release bite valve, rotating lock, magnetic hose clip, full-width opening, rigid backpanel | Frequent backpackers who want a shaped-bladder fit and easy fill |
| Hydrapak Shape-Shift | Varies | Adjustable center baffle, self-sealing valve, rotating switch, plug-and-play hose, fully reversible | Ultralight packers who still want to dry the bladder fully |
| Gregory 3D Hydro | 3L | Thick soft polymer, full-length handle, removable components, drying hang loop, magnet on hose | Backpackers who prioritize easy filling and cleaning over minimal weight |
| Platypus Hoser | Varies | Lightweight, durable, fits most reservoir sleeves, good flow | Budget-conscious hikers who want a simple, dependable bladder |
| CamelBak Crux | Varies | Comfortable bite valve, larger hose diameter, high flow, leak-resistant lock | Backpackers who want a classic design with easy drinking |
| Hydrapak Seeker | 3L | Lightweight and simple, strong warranty | First-time reservoir users who want a low-risk entry point |
| MSR DromLite | 2L, 4L, 6L | Three-in-one cap, large round opening, hang loop, folds small, optional hose kit | Camp water storage and group use, not primary on-trail bladder |
| Foldable 8L camp bag | 8L | Spigot-style tap, carry handle, folds for storage | Basecamp water, car camping, washing and cooking |
Choose by trip type rather than brand alone. A 3L Osprey or Gregory reservoir earns its weight when you are filling from a shallow stream or mossy spring and want a wide, rigid opening. An MSR DromLite 4L or 6L belongs in camp, where it can sit clipped to a tree or table. A foldable 8L bag covers cooking and dishwashing for a group but is not something you would hike with.
Which models fit backpackers, and which fit car campers?
Osprey, Gregory, CamelBak, Platypus, and Hydrapak reservoirs suit frequent backpackers because they balance weight, fill ease, drink flow, and cleaning. None of them is perfect for everyone, but each is a reasonable on-trail bladder if the opening and valve feel good to you.
MSR DromLite bags and 8L camp bags fit basecamp or group water duty better. The DromLite can be fitted with a hose to work as a water system, but its strength is the wide camp-opening and hang convenience. Car campers who want one big water supply for a weekend may prefer a 6L DromLite plus a separate 2L bottle for day hikes.
Where do budget and insulated options make sense?
Budget bladders work for occasional use if you inspect the bite valve and seal carefully before purchase. Low-price models often skimp on the valve mechanism and top seal rather than on the film itself. If the valve feels unreliable or the cap is thin, the savings are not worth a wet sleeping bag.
Insulated reservoirs and hose sleeves are worth the extra pack space in hot or freezing weather. A fully insulated model can keep water colder longer and slow hose freeze-up, but that adds bulk and weight. For mild three-season trips, a standard bladder plus a hose routed under your pack's top lid does nearly as well for less weight.
How Should You Store or Pack a Hydration Reservoir for Camp and Cold Weather?
Empty and air-dry the reservoir before packing it away. If it must go into a storage bin while slightly damp, leave the opening unzipped or the cap partially open so air can move. A bladder stored sealed and damp will develop a film that is difficult to remove later.
If overnight temperatures may drop below freezing, keep the reservoir and hose inside your pack or sleeping space. A hose exposed outside the pack freezes first, and a frozen bite valve is useless until midday. Blow air back through the hose after drinking so water clears the tube and does not freeze solid.
Never use a stove or heater inside your tent to thaw or dry a reservoir or any other gear. Carbon monoxide and fire risk make that dangerous. If the bladder freezes, move it inside your sleeping bag or a warm jacket and let it thaw slowly.
Troubleshooting: What If It Still Leaks, Tastes Bad, or Is Hard to Clean?
Start with the three most common failure points: the bite valve, the quick-connect, and the top closure. Check each for damage, misalignment, or a seal that is not seated flush. A leak at the hose connection often means the quick-connect did not snap fully into place. A leak at the cap usually means cross-threading or a cracked rubber seal.
Replace cracked seals and worn bite valves rather than trying to patch them with tape. Soak a sour-smelling bladder with a cleaning tablet or baking-soda rinse. If the opening allows, flip the bladder inside out and let every surface air-dry. That is the fastest way to interrupt the mold-and-odor cycle.
Why does water taste like plastic or stale?
Old water, sweet drink residue, or incomplete drying are the usual causes. Plastic taste on first use fades after a thorough rinse and a few hours of air drying. Stale taste after storage means the bladder was put away with moisture or with water left inside too long. Rinse after every use, and do not store water in the bladder for more than 24 hours.
Why does my reservoir leak around the cap or hose?
Check that the cap is not cross-threaded and that the quick-connect is fully seated. Look at the top rubber seal or gasket under the cap; some readers have reported cracking in that part over time, so it is worth inspecting before each trip. If the hose itself has a split near the connector, trim it back and reattach the connector, or replace the hose.
Before packing, check trip type, overnight low, and rain forecast. A 1.5 to 3L reservoir suits most backpacking routes, while a larger camp bag belongs at basecamp for cooking and group water. Pair the bladder with a pack liner so a slow leak never soaks your sleep system or spare clothes. The best reservoir is the one you can fill, drink from, and dry completely every time you come home. — Camp Kit Journal
This article is general information about camping gear, not professional safety, medical, or wilderness training. Check fire restrictions, weather, and campsite rules before you go, and follow the manufacturer's instructions for your own equipment.
FAQ
What size hydration reservoir is best for backpacking?
1.5 to 2L suits day hikes and most overnight trips, while 3L works for long stretches between water sources or warm weather. Larger 4L+ bags are better for basecamp or group use.
Why does my hydration reservoir make water taste bad?
Plastic taste usually comes from a new bladder that hasn't been rinsed or water stored too long. Rinse the bladder, hose, and valve before first use, and don't store water in it for more than 24 hours.
How do I clean and dry a hydration reservoir to prevent mold?
Empty and rinse the bladder, hose, and bite valve after each trip, then dry fully. Use warm water with mild soap or a cleaning tablet, and a wide or fully reversible opening makes thorough drying easier.
What causes a hydration reservoir to leak around the cap or hose?
Common causes are a cross-threaded cap, a cracked rubber seal, or a quick-connect hose that is not fully seated. Inspect the bite valve seal and top gasket before each trip.
Which hydration reservoir models are best for backpacking vs car camping?
Osprey, Gregory, CamelBak, Platypus, and Hydrapak suit frequent backpackers, while MSR DromLite and 8L camp bags work better for basecamp or group water duty.



