Backpacking Trauma Kit vs First Aid Kit: A Practical Guide
A backpacking trauma kit focuses on severe bleeding control, while a first aid kit handles blisters and minor cuts. Learn which supplies to carry based on your route, weight limit, and skill level.
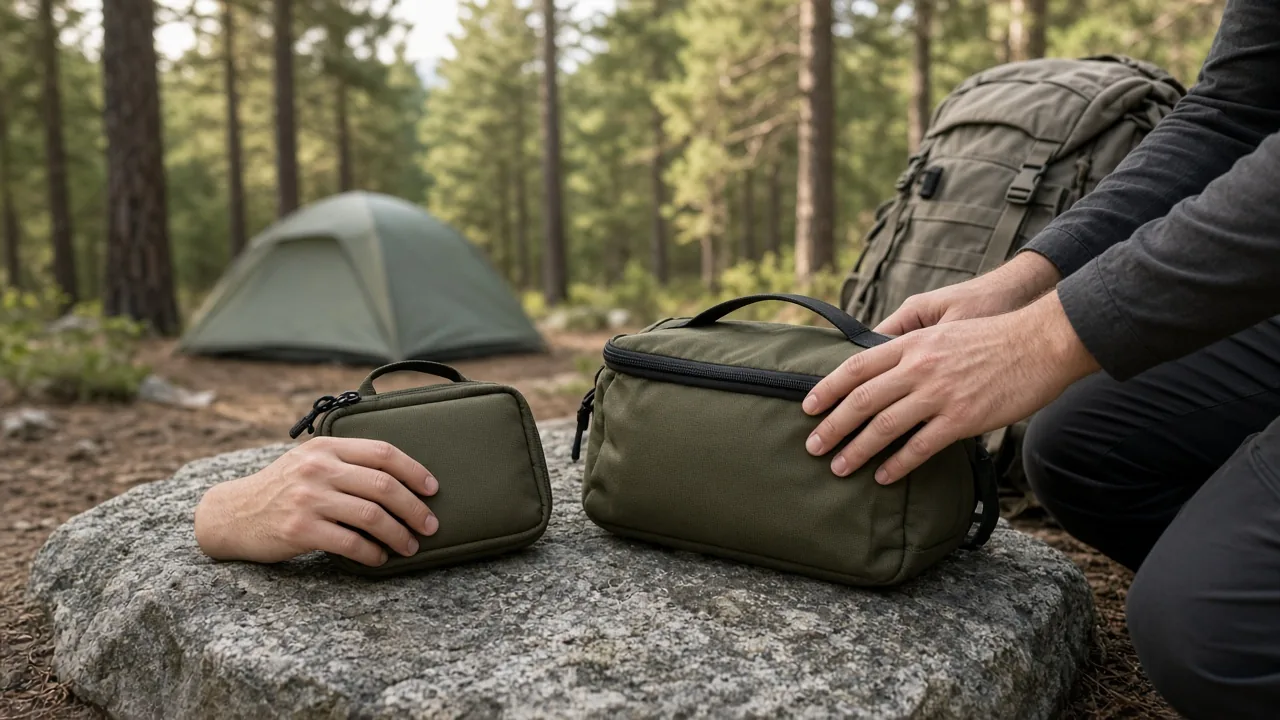
A backpacking trauma kit and a first aid kit serve different purposes, and confusing the two usually means carrying redundant weight or, worse, reaching for the wrong item when someone is bleeding fast. A lightweight backpacking trauma layer should focus on severe-bleeding control and carry only what you can use quickly, not duplicate a larger first aid kit. Here is how to decide which supplies earn their place in your pack.
What a Backpacking Trauma Kit vs First Aid Kit Actually Means
A trauma kit targets severe bleeding and life-threatening injuries. A first aid kit handles blisters, minor cuts, and everyday aches. Backpackers need a deliberate blend of the two, not double weight from overlapping supplies.
The practical question is not which category is better. The question is which injuries are likely enough on your specific route to justify the extra ounces.
Why the Category Split Matters for Backpackers
Backcountry rescue can be hours away, not minutes. A deep wound on a remote trail will not wait for a frontcountry EMS response. That means your bleeding-control items need to be reachable and usable one-handed, because the person who needs them may be you.
A basic first aid kit cannot stop arterial bleeding. It can patch a blister or clean a scrape, but a handful of adhesive bandages will not control a deep laceration or a compound fracture. Backpackers who treat a first aid kit as a trauma kit give themselves a false sense of coverage without adding the supplies that handle the highest-stakes injuries.
At the same time, a full trauma loadout that belongs in a vehicle or a base camp is too heavy for most hikers. A 1.5 kg medical bag might make sense for car camping, but it is nearly three times the weight of a lean 12 oz backcountry kit. That difference matters after a thousand feet of climbing.
A 12-Ounce Example Compared with a 3 lb 5 oz Medical Bag
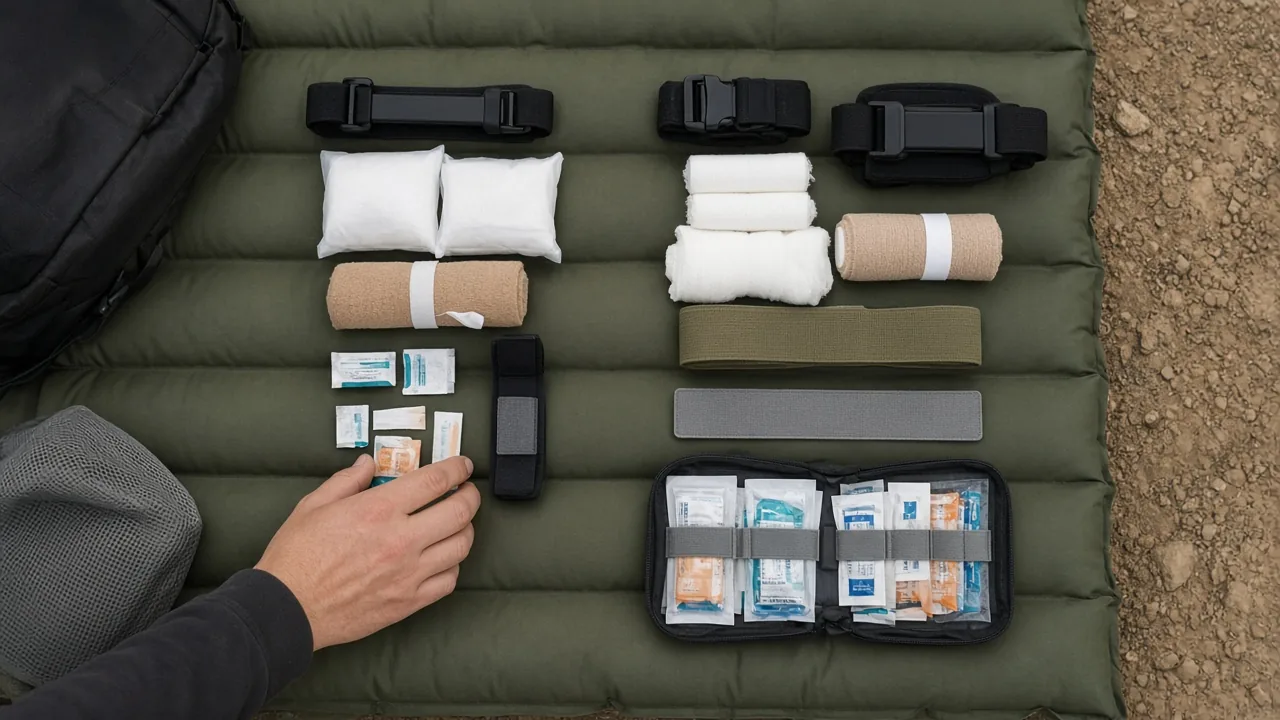
One widely shared lightweight backcountry kit weighs about 12 oz and focuses on a short list of high-impact items. A larger personal or family medical bag, by comparison, runs around 1.5 kg, or roughly 3 lb 5 oz. The table below shows what typically gets cut when weight matters.
| Category | 12 oz Ultralight Kit | 3 lb 5 oz Medical Bag |
|---|---|---|
| Tourniquet | One windlass tourniquet you have practiced with | Multiple tourniquets, including quick-release styles |
| Wound packing | Two compressed gauze packs, one hemostatic | More gauze, multiple dressings, and hemostatic powder |
| Pressure wrap | One pressure bandage, one cohesive wrap | More bandages plus elastic wraps |
| Splint | Mini SAM splint | Full-size splint plus additional rigid support |
| Closure | Strip-style wound closures | More tape and wound-care items |
| Meds | Single-dose ibuprofen, antihistamine, anti-diarrheal | Full blister packs of multiple medications |
| Extras | Minimal, tied to the route | CPR mask, thermometer, cooling pack, more hygiene items |
| Best for | Solo or multi-night backpacking | Car camping, family base camp, or home use |
The point is not that the larger bag is wrong. The point is that it belongs in a different setting. For a hiker covering miles with everything on their back, the leaner kit works because it accepts tradeoffs.
The Core Trauma Layer: Stop Bleeding, Stabilize, and Protect
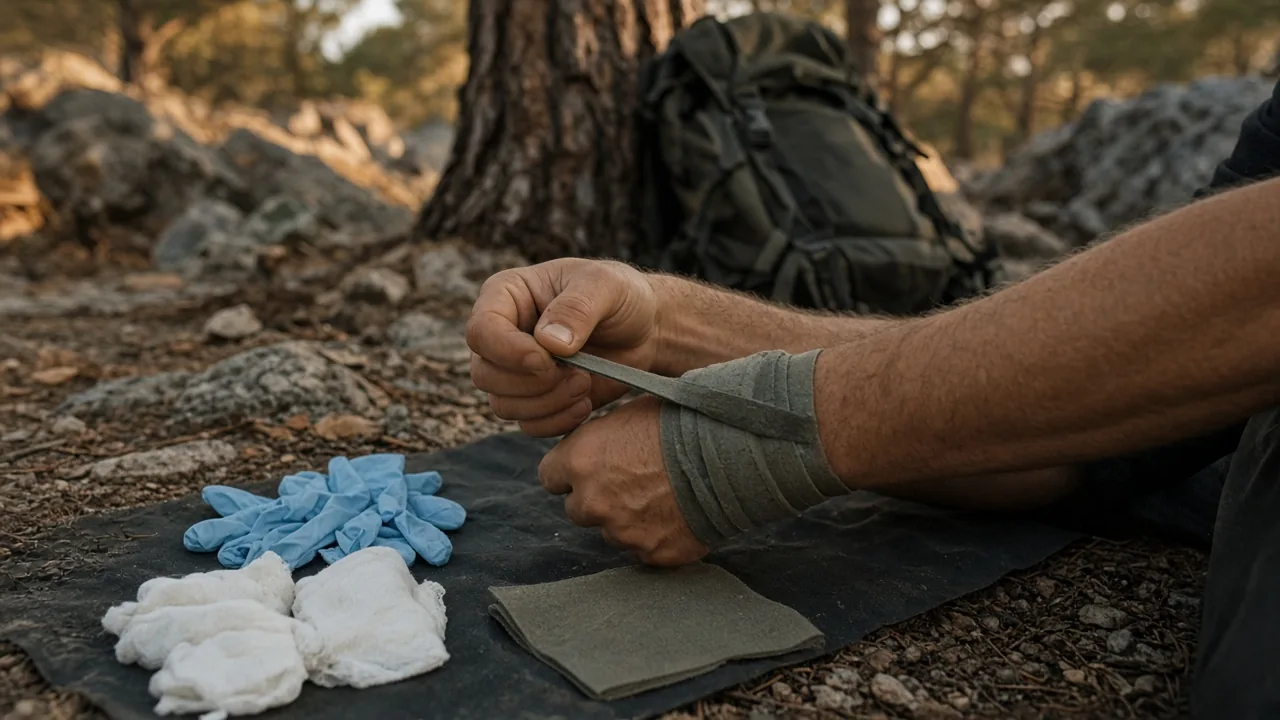
For backpacking, the trauma layer should prioritize a tourniquet you have practiced with, a pressure dressing, compressed gauze, gloves, and a compact splint. These handle the highest-stakes injuries without excessive weight.
Tourniquet and Wound Packing Choices
A windlass tourniquet such as a CAT is a common choice because it can be applied one-handed and tightened with a mechanical windlass. Whatever model you choose, it should live where you can reach it without unpacking, and it should be a design you have actually rehearsed. A tourniquet that has never left its wrapper is not a plan.
Hemostatic gauze is a situational addition. It matters most for wounds in areas where direct pressure is hard to apply, such as the groin or armpit. For a general backpacking route, standard compressed gauze covers most needs and weighs less. Some backpackers still carry one hemostatic pack for those awkward junctional bleeds and accept the small weight penalty.
Pressure Bandages, Splints, and Closure Strips
A pressure bandage with hook-and-loop closure can be applied with one arm and holds continuous pressure without you having to lean on it the whole time. That frees your other hand for gear access, calling for help, or stabilizing the injured person.
A mini SAM splint works for finger, wrist, or ankle support and weighs only about 0.2 oz. It can be pre-shaped on the uninjured side before moving it onto the injured limb, which reduces pain during application. A cohesive wrap holds the splint or gauze in place and sticks to itself rather than skin.
Strip-style wound closures such as Z-Zips can hold a wide wound closed without sewing skill. They are not a substitute for proper medical care, but they can keep a gaping cut stable during evacuation. One reader reported that an emergency physician recognized the method and did not object to the approach, though that is not the same as formal approval.
Blister Care and Everyday Meds Deserve a Lighter Layer
Foot problems end more backpacking trips than arterial bleeding. Blister care belongs in every kit, but it does not need the same prominence as trauma gear.
Leukotape wrapped around a small marker is one of the most useful blister tools you can carry. It stays put against friction and lets you address hot spots before they become open wounds. A few bandages, alcohol wipes, and single-dose packs of ibuprofen, an antihistamine, and an anti-diarrheal cover the most common trail ailments without a full pharmacy.
Where Lightweight Kits Get It Wrong
The main risks are carrying gear you cannot use well, overloading with hospital-level supplies, or skipping practice and rotation. These mistakes add weight without adding safety.
Hemostatic Powders and Chest Seals: Situational, Not Automatic
Hemostatic powders get mixed reviews. The advantage is clotting in areas where pressure and gauze struggle, such as junctional wounds. The downside is that the powder can make later cleaning and closure more difficult. Some reviewers question whether a backpacker on a regular trail needs it at all. The same caution applies to chest seals. They can help with certain penetrating chest injuries, but they require training and a clear reason to carry them. Add them only if your route and your practice support them.
Tourniquet Disagreement: CAT, SWAT-T, or None?
Not every backpacker agrees that a CAT-style tourniquet belongs in a trail kit. Some favor smaller alternatives like the SWAT-T or SOF-T because they pack flatter or weigh less. Others argue that a backpacking trip does not need a trauma-level tourniquet at all, especially on well-used frontcountry trails.
The more useful measure is one-handed usability. If you cannot apply the tourniquet to your own arm with your off hand in under a minute, it is the wrong choice for you, regardless of what anyone else carries. Practice matters more than brand loyalty.
Expired, Undocumented, or Unpracticed Supplies
A kit that sits in your pack for eight months is not a plan. Medications expire, adhesive loses grip, batteries drain, and tourniquets can develop creases or wear in storage. Check drug dates and battery life every six months.
Practice the tourniquet and pressure wrap before you need them. Rehearsing on a healthy limb, even in your living room, teaches you which hand to use and how the strap feels under tension. That muscle memory is the real safety gear.
Backpacking Trauma Kit vs First Aid Kit: Who Needs Which
A trauma-focused layer makes sense for remote trails, cold or wet conditions, and multi-night routes. Frontcountry hikers and many car campers can stick closer to a basic first aid kit.
Good Candidates for a Trauma-Weight Kit
You are a candidate if you travel hours from help, cross water or steep terrain, or carry tools like knives and axes that can cause deep wounds. A multi-night route in cold or wet weather also raises the stakes, because an injury that would be inconvenient in a city park becomes dangerous when you are shivering and far from a trailhead.
Solo backpackers deserve extra consideration. With no partner to help, each item must be reachable with one hand, and bleeding control becomes a self-rescue task. That shifts the gear list toward a tourniquet, pressure dressing, and gloves.
When a Standard First Aid Kit Is Enough
For day hikes on well-used trails and car camping with emergency services nearby, bandages, blister tape, and common meds cover most likely injuries without the extra ounces. A full trauma layer in a crowded state park adds weight but rarely adds meaningful response time, because help is already close.
The same logic applies if you are camping near your vehicle. A larger kit in the car gives you access to more supplies without carrying them on your back. That is a sound compromise for family trips or group sites.
Family, Group, or Solo: Adjust for the Person, Not Just the Route
If you hike with people who rely on you, add an extra pair of gloves and simple written instructions. In a stressful moment, the person helping you may not know which pouch holds the tourniquet. A small card that says "red bag top pocket: tourniquet, gloves, pressure wrap" costs nothing and removes guesswork.
If you hike solo, prioritize one-handed items and tell someone your route. A tourniquet that you can only apply to another person does not help you alone.
Final Take: Build Your Kit Around Your Trip and Skill
Start with the lightest kit that covers your likely injuries. Add trauma gear only if rescue time or terrain asks for it. Store everything so bleeding control is reachable without unpacking the whole pack.
Packing Order and Quick Access
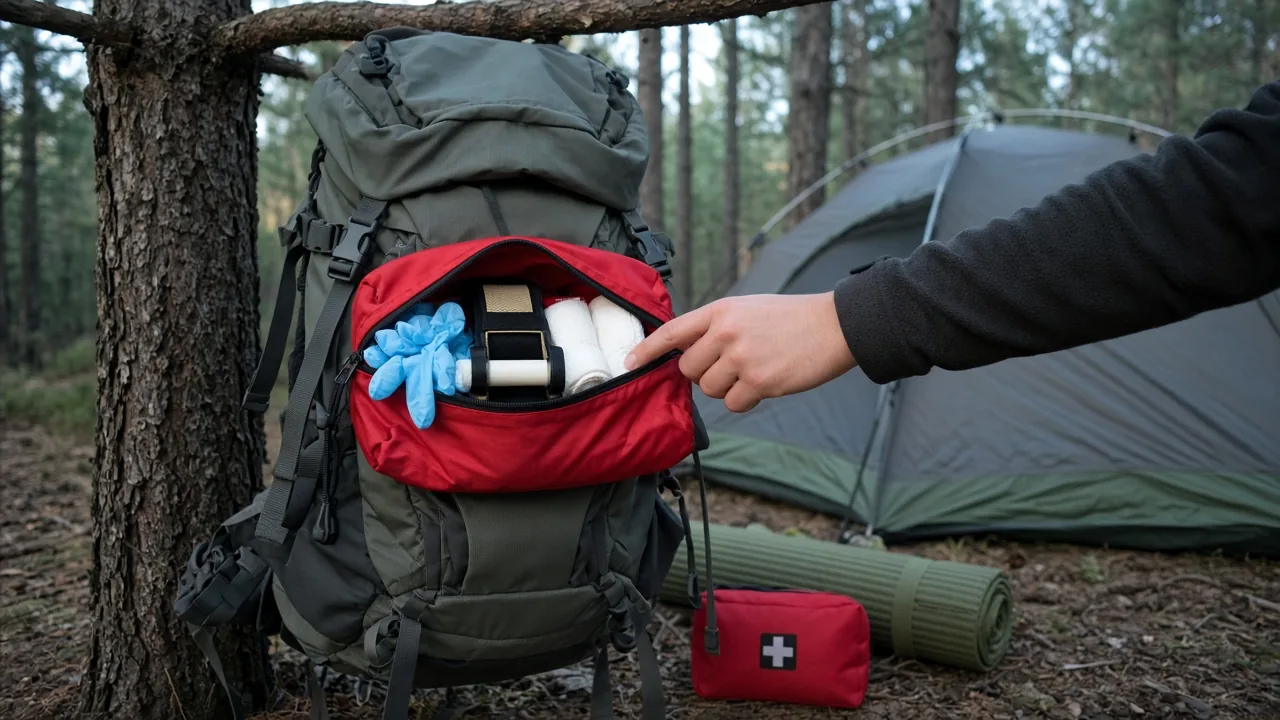
Keep the tourniquet, gloves, and pressure dressing on the outside or top in a red pull bag. Red is easy to spot when someone else is looking for your gear, and a pull bag deploys in one motion instead of forcing you to open zippers and dig through layers.
Less urgent blister care and medications sit deeper, where they stay protected but still organized. The goal is simple: the more serious the injury, the closer the item should be to your hand. And for any trip that includes a stove, remember to never use a stove or heater inside your tent, both for carbon monoxide risk and for fire safety.
Practice and Rotation Beat More Gear
Every item you carry without practice is dead weight. Check seals, drug dates, and battery life twice a year. Refresh your stop-the-bleed steps before each season. A $3 roll of adhesive tape is only useful if you know how to tear it one-handed with cold fingers.
Before each trip, check whether you are car camping or backpacking. Look at the overnight low and the forecast for rain or snow. Then decide if the trauma layer earns its weight. For most outings, a basic first aid kit remains the starting point, but for the right trip, a lean, practiced trauma kit can change the outcome entirely.
This article is general information about camping gear, not professional safety, medical, or wilderness training. Check fire restrictions, weather, and campsite rules before you go, and follow the manufacturer's instructions for your own equipment.
FAQ
What is the main difference between a backpacking trauma kit and a first aid kit?
A trauma kit targets severe bleeding and life-threatening injuries, while a first aid kit handles blisters, minor cuts, and everyday aches. Backpackers need a deliberate blend of the two without duplicating weight.
When should I carry a trauma kit instead of just a first aid kit?
A trauma-focused layer makes sense for remote trails, cold or wet conditions, solo trips, and multi-night routes hours from help. Frontcountry hikers and car campers near emergency services can usually stick with a basic first aid kit.
What supplies should a lightweight backpacking trauma kit include?
Prioritize a tourniquet you have practiced with, a pressure dressing, compressed gauze, gloves, and a compact splint. These stop severe bleeding and stabilize injuries without excessive weight.
Is hemostatic gauze or powder necessary for backpacking?
Hemostatic gauze is situational and most useful for junctional wounds like the groin or armpit. For a general route, standard compressed gauze covers most needs; hemostatic powder gets mixed reviews due to later cleaning difficulty.
How often should I check and practice with my backpacking first aid or trauma kit?
Check drug dates, battery life, and seal integrity about every six months, and practice applying your tourniquet and pressure wrap before each season. Muscle memory is the real safety gear.



